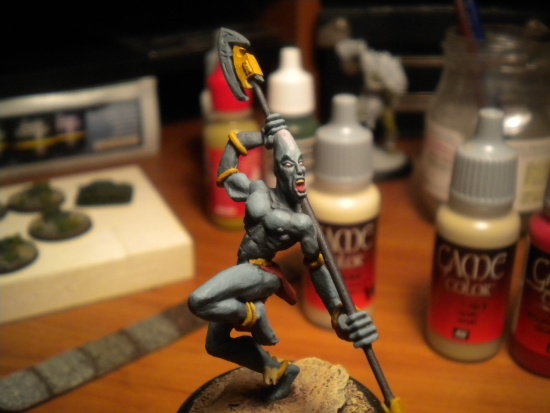
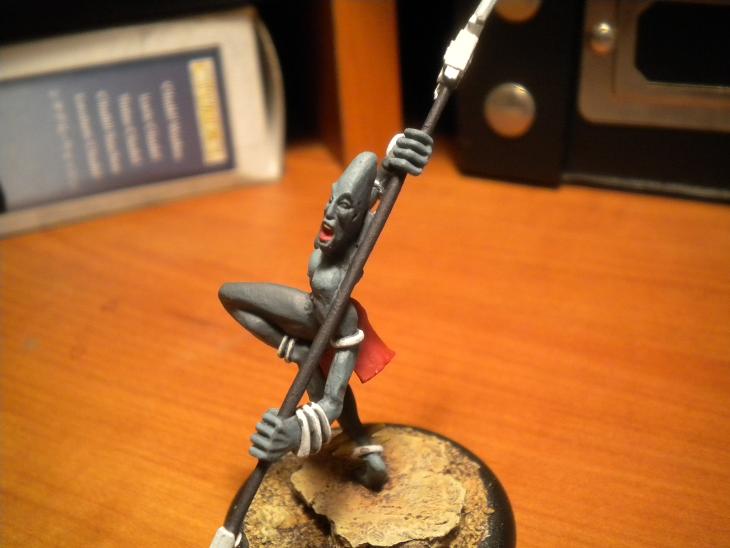
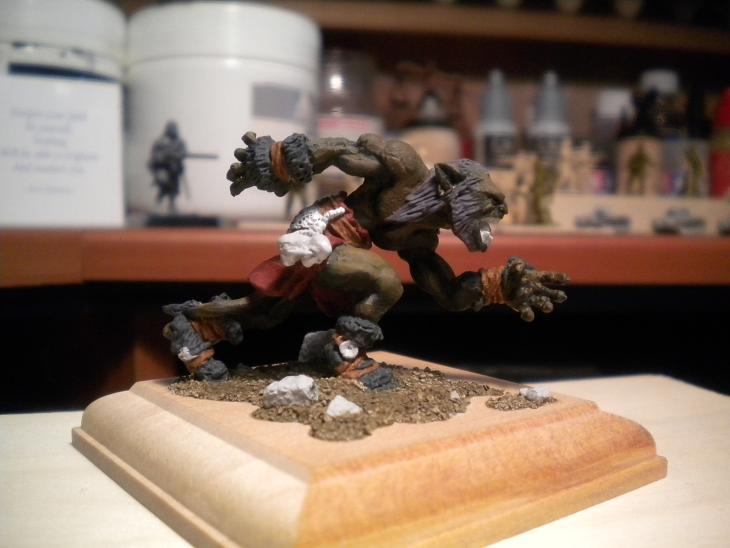
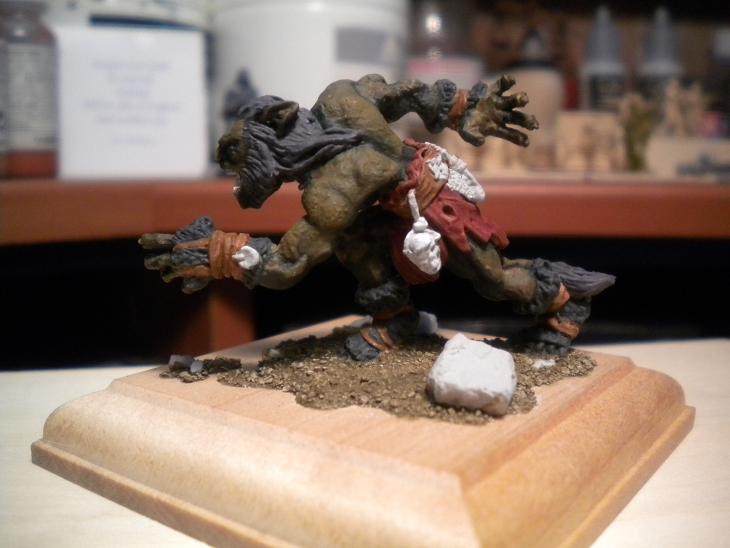
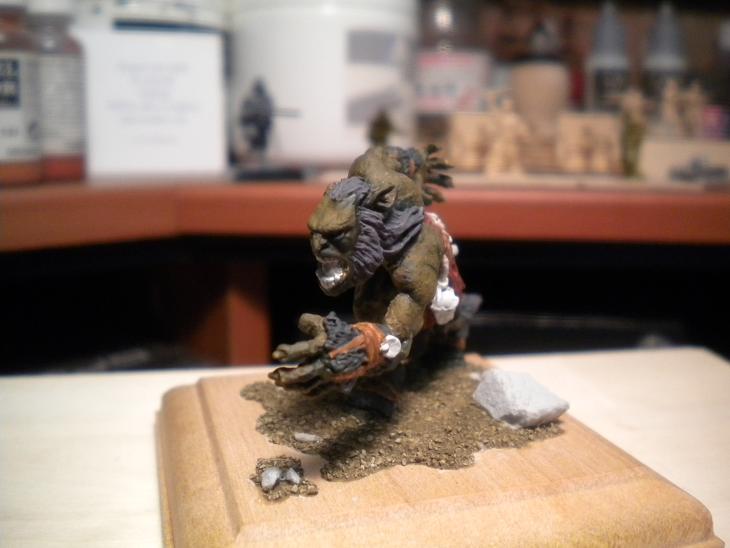
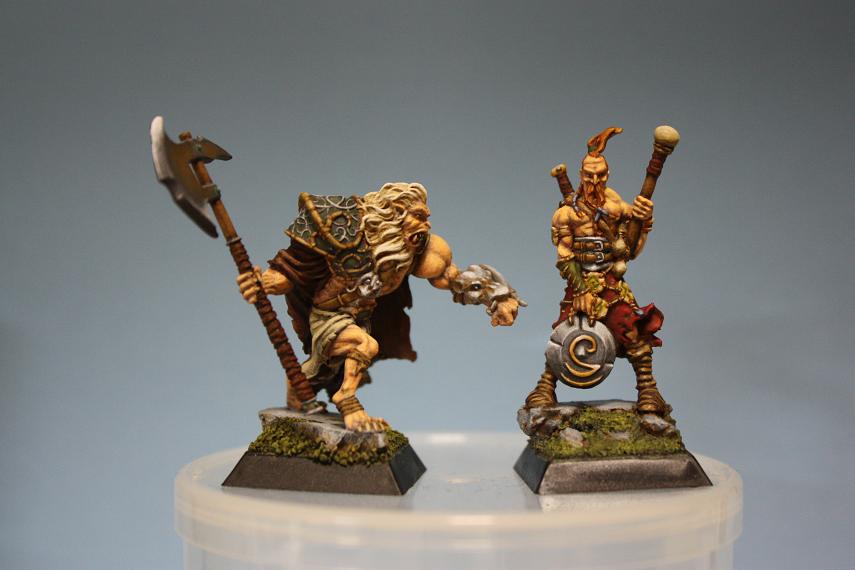
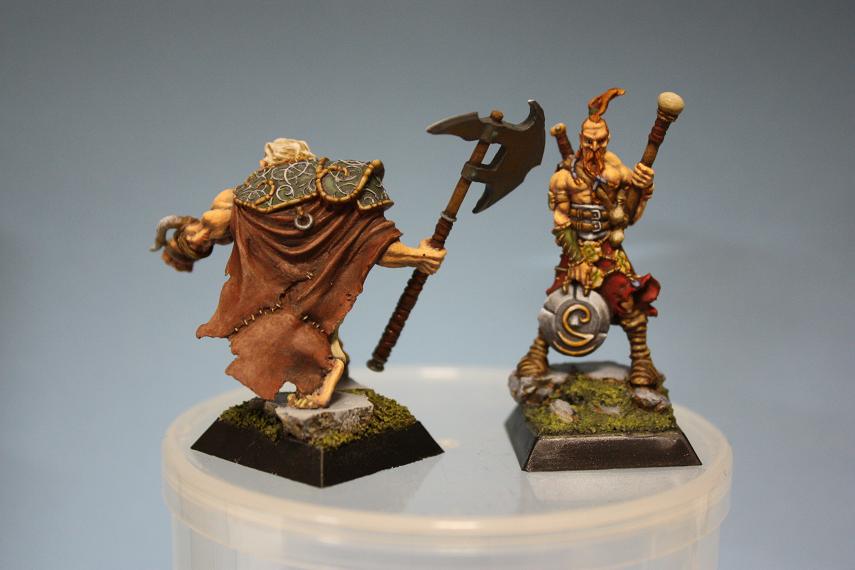
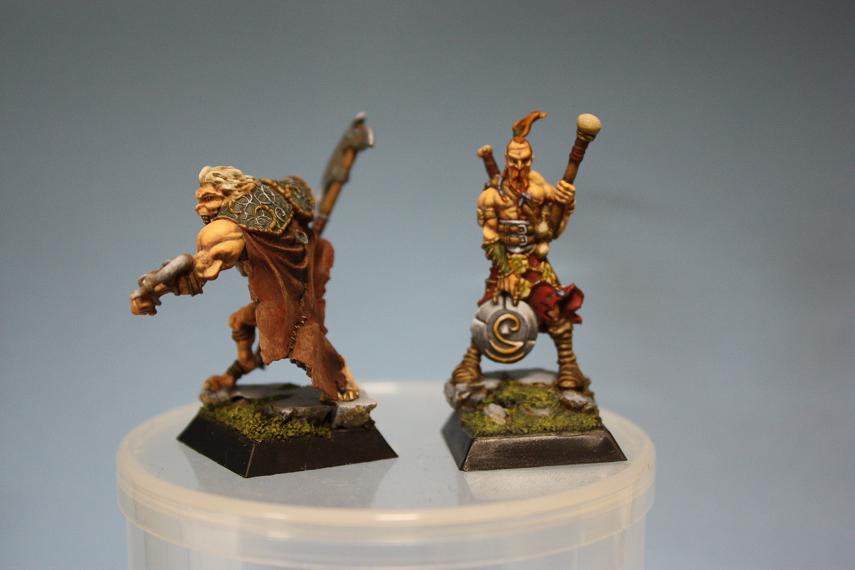
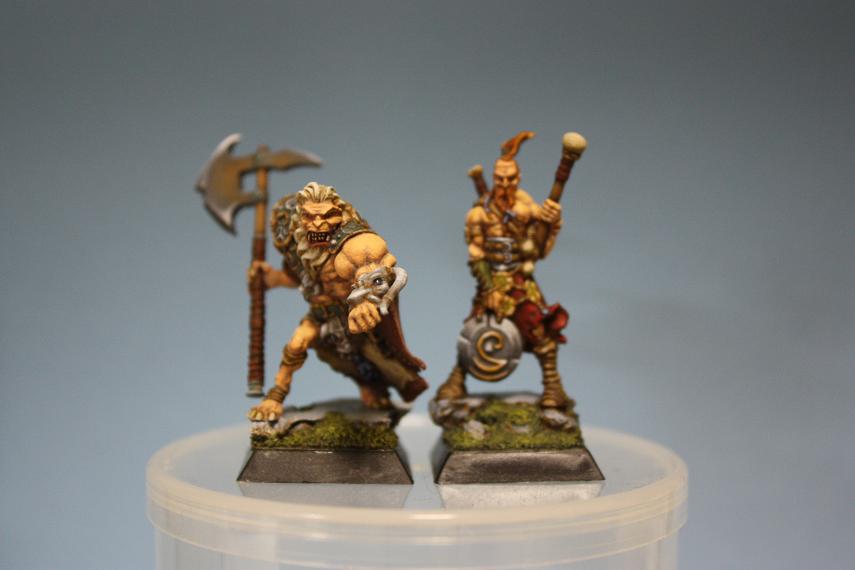
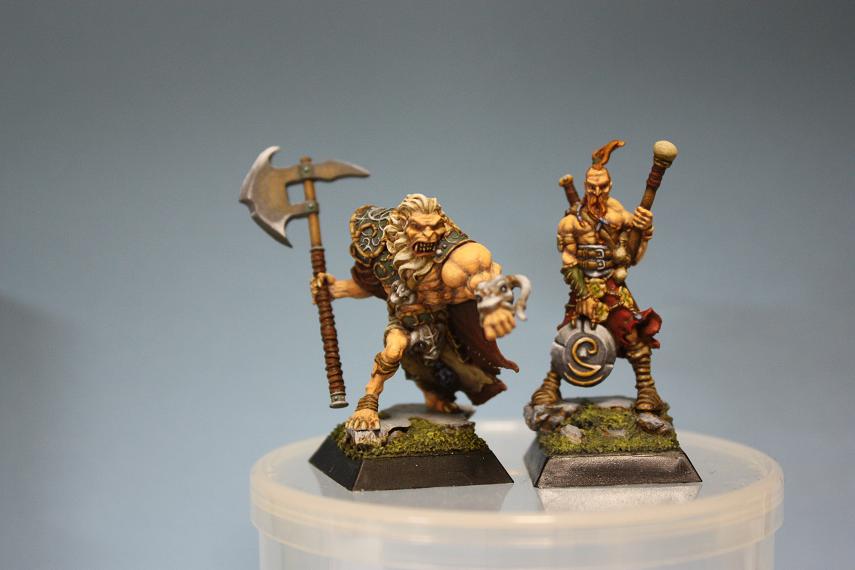
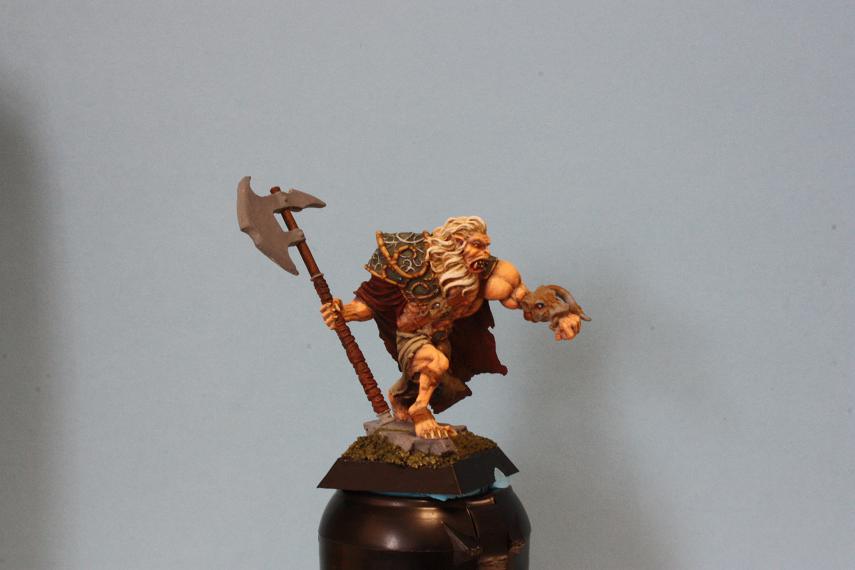
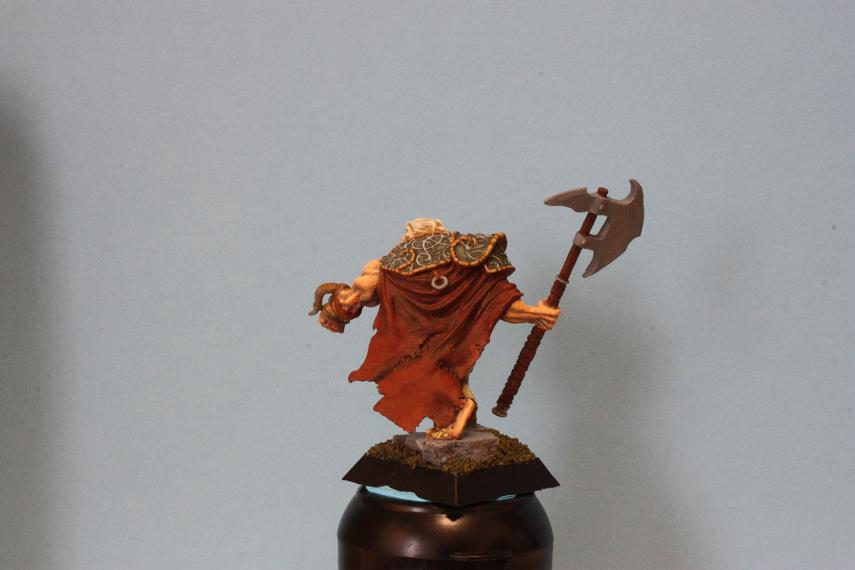
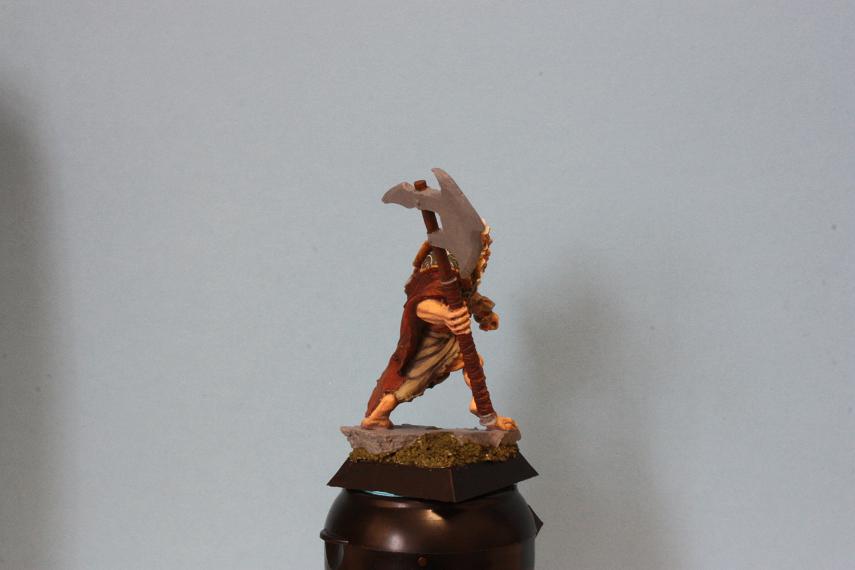
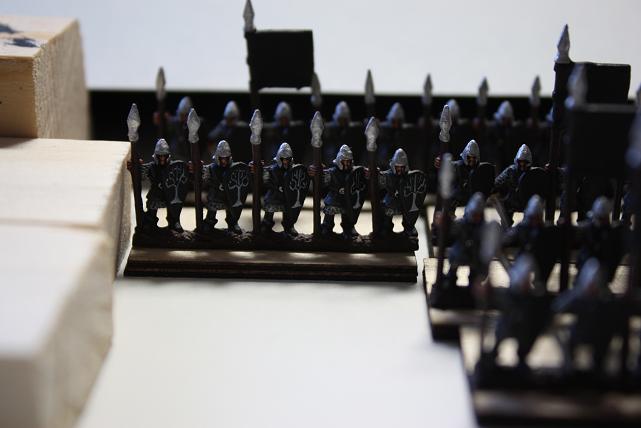
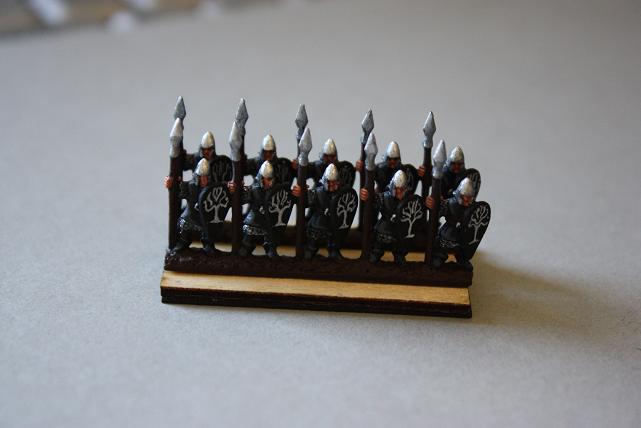
This is my entry for the recent painting duel sponsored by the Dragon Painting forum. You can see some tremendous expressions of talent in the work from four other participants (and vote if you’re a member) in this thread.
For more information on Studio McVey products and efforts, visit their store for a growing line of beautiful miniatures and their blog for announcements and inspirational hobby tips.
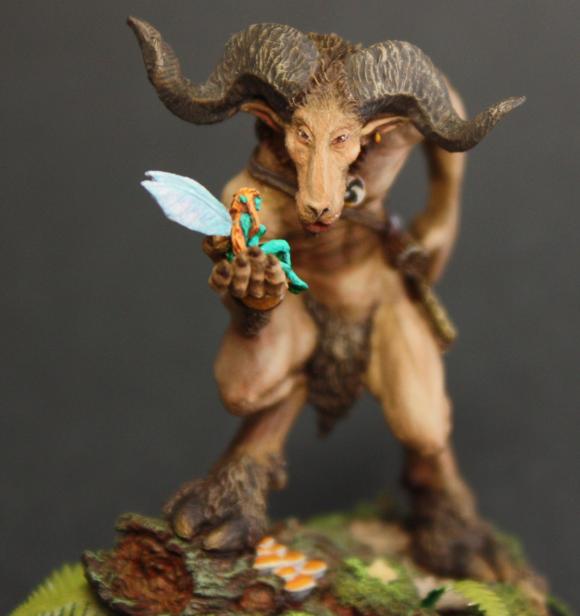
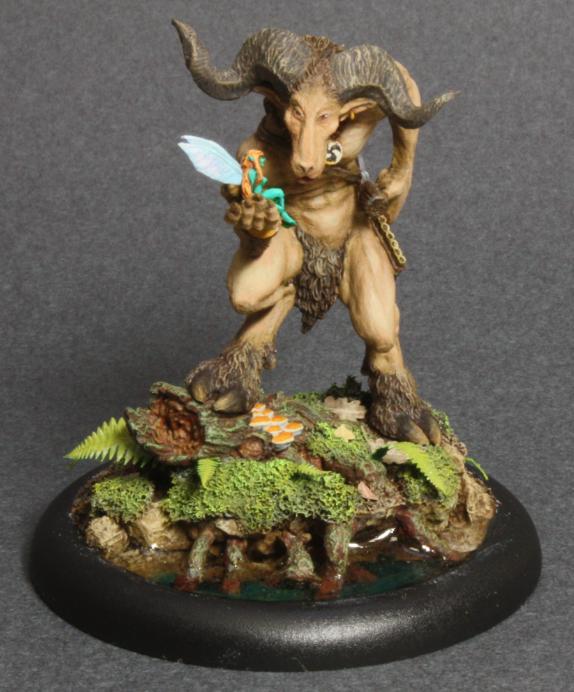
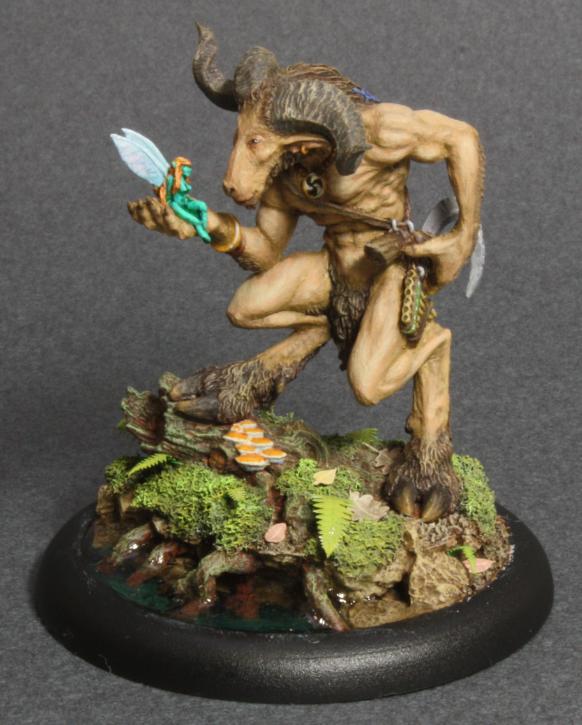
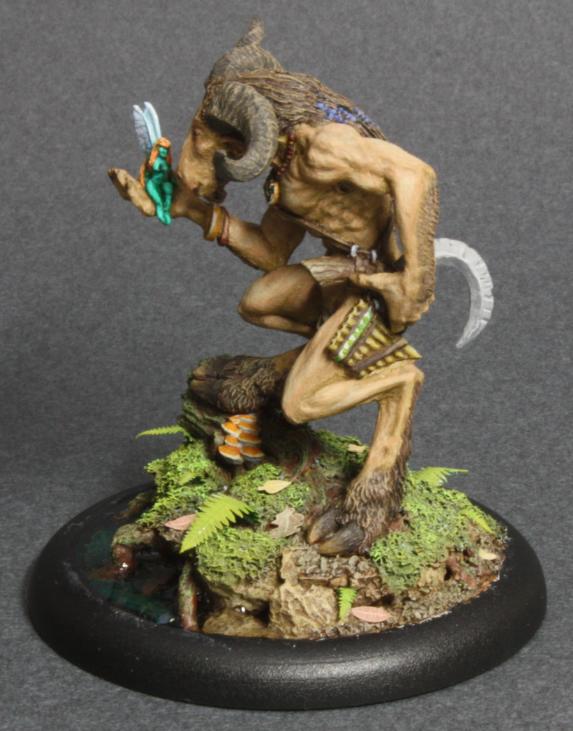
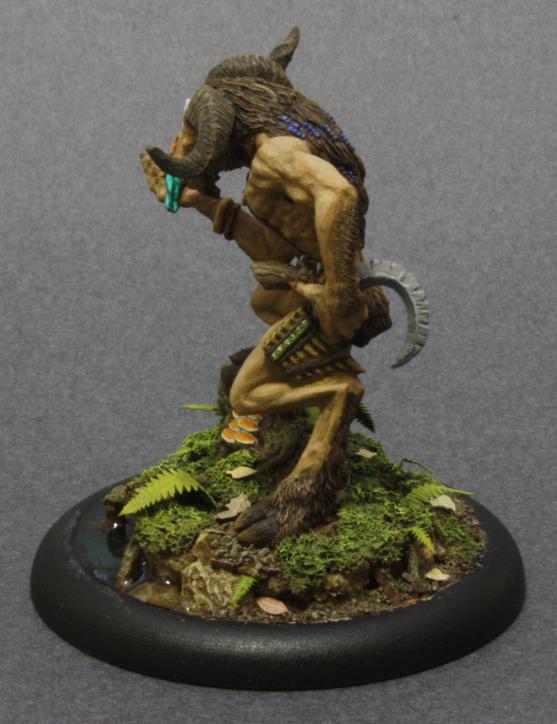
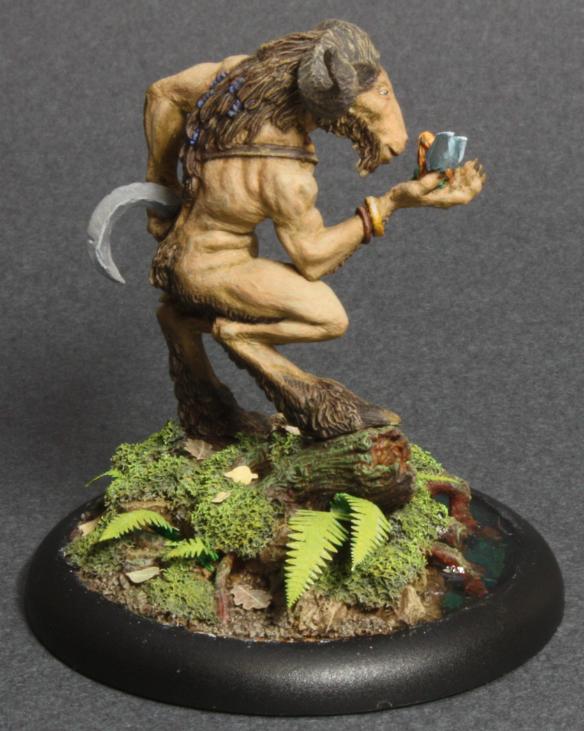
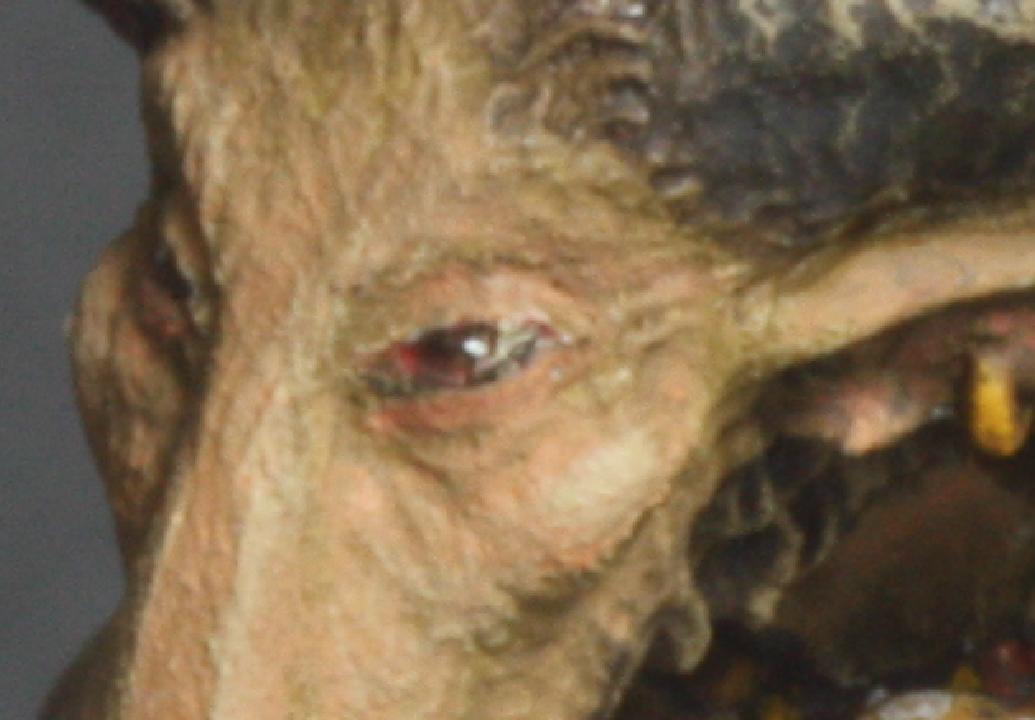
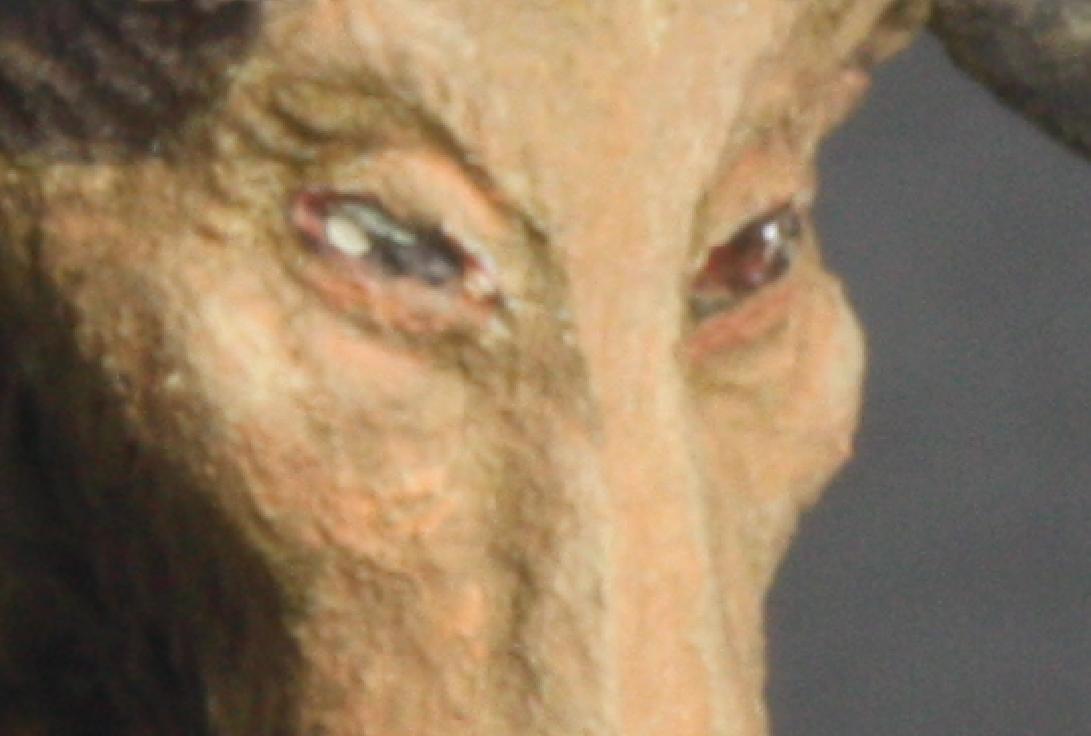
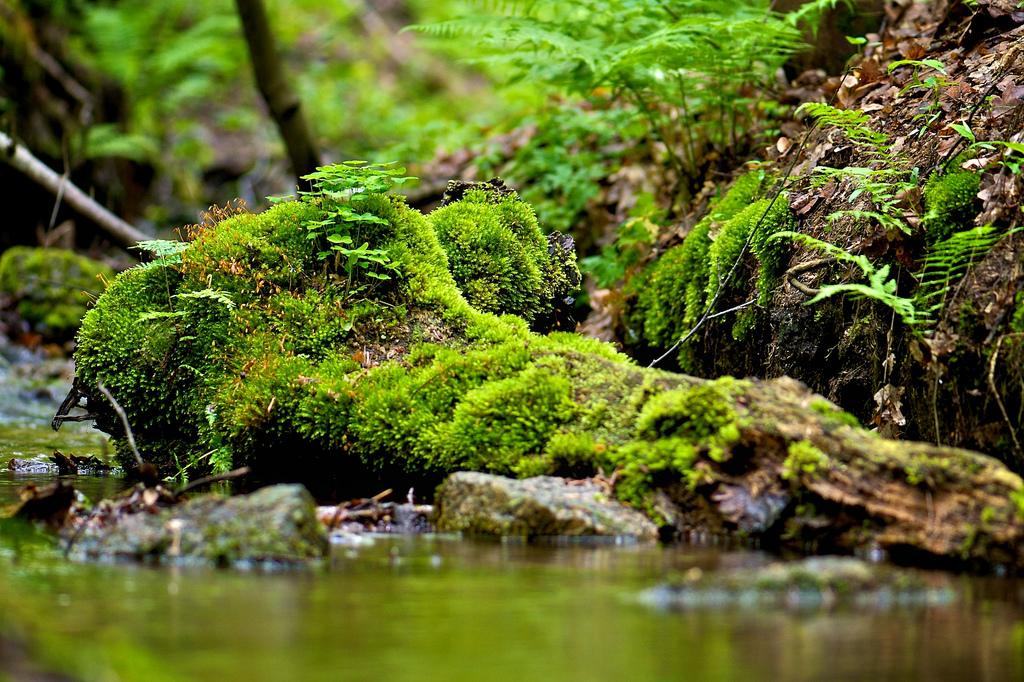
I wanted the base to look like the forest floor of the redwood forests of California, and used the colors and foliage in the photo below as a guide. In retrospect I probably should have brightened things up more and added more detritus, but I’m generally pleased with the results.
I’ve experienced problems with capillary creep when using Realistic Water produced by Woodland Scenics, and decided to try clear epoxy. My plan was to do about ten thin layers, each of which would get a thin wash of light green before applying the next layer. This would produce, I hoped, the desired look of soupy still water with algae in full bloom. Unfortunately, I didn’t have time for this, and only was able to apply three layers. The effect, as a result, is lost. There’s always next time.
You can find a great tutorial about using clear epoxy for water here.
Finally, for those of you who are interested, my painting formula for this piece.
BASE
Stone
- Base with VGC 062 Earth
- Thorough wash with VMC 822 German Cam. Black Brown
- Successive dry brushes starting with VMC 876 Brown Sand
- Second dry brush with VGC 063 Desert Yellow
- Third dry brush with VMC 061 Khaki
Earth
- Base with GW Brown Ink
- Successive dry brushes starting with VMC 988 Khaki
- Second dry brush with VMC 884 Stone Grey
- Bring it back down with a wash of VMC 822 German Cam. Black Brown
Tree trunk
- Base with VGC 044 Dark Fleshtone
- Thorough wash with VMC 822 German Cam. Black Brown
- Three successive dry brushes starting with VMC 044 Dark Fleshtone
- Next dry brush is with VMC 043 Beasty Brown
- Third dry brush is a lichen effect with a mix of VMC 907 Pale Greyblue + VMC 833 German Cam. Bright Green
Tree trunk rings
- Base with VGC 042 Parasite Brown
- Thorough wash with VMC 822 German Cam. Black Brown
- Selective highlights first with VMC 043 Beasty Brown followed by VMC 061 Khaki
- Take this down so that the recesses are darker, and bring it back up with more VGC 042 Parasite Brown + the same brightened with Bonewhite or Khaki.
Mushrooms
- Base with VGC 034 Bonewhite
- Wash the underside with VMC 905 US Bluegrey Pale
- The top is a transmission mix of VGC 042 Parasite Brown + WFT Citadel Colour Golden Yellow, taking care to leave the very outer edge of the mushrooms pure Bonewhite
Ferns
- Paint underside with VGC 028 Dark Green
- Paint top with VGC 030 Goblin Green
Water
- Base with VGC 027 Scurf Green + VGC 051 Black
- Fill with three layers of clear epoxy, washing each layer (except the top) with VGC 027 Scurf Green the VGC 029 Sick Green
Moss
- VGC 067 Cayman Green
- VGC 067 Cayman Green + VGC 006 Sunblast Yellow, bringing it almost up to pure yellow
- Highlight with VGC Scorpy Green
PAN
Hooves
- Base with VMC 822 German Cam. Black Brown, being careful to leave just the tips of the hooves untouched so that the primer remains
- Wash the hooves near the roots with VGC 051 Black
- Base the tips with VGC 062 Earth, blend toward the roots
- Blend between the brown main parts and tips with VMC 822 German Cam. Black Brown
Horns
- Base with VGC 061 Khaki
- Wash with a combination of VGC 045 Charred Brown + VMC 994 Dark Grey
- Wash again with a combination of VMC 822 German Cam. Black Brown and VMC 862 Black Grey
- Drybrush very delicately with VGC 062 Earth
- Drybrush again with VGC 061 Khaki
- Tone down the highlights where necessary with a drybrush of VGC 062 Earth
Hair
- Base with VGC 045 Charred Brown
- Wash once with VMC 822 German Cam. Black Brown
- Wash the recesses with VMC 822 German Cam. Black Brown + VGC 051 Black
- Wash deepest recesses with pure VGC 051 Black
- Drybrush with a combination of VGC 045 Charred Brown + VGC 062 Earth
- Drybrush with pure VGC 062 Earth
- Drybrush with a combination of VGC 062 Earth + VGC 061 Khaki
Hair beads
- Base with VGC 019 Night Blue
- Highlight with VGC 048 Sombre Grey
Skin
- Base with VGC 062 Earth
- Highlight with VMC 876 Brown Sand
- Highlight next with VMC 041 Dwarf Skin
- Final highlight with VMC 061 Khaki
- Work back down with VMC 041 Dwarf Skin to smooth the transitions
Fingernails
- Base with VGC 062 Earth
- Wash with VGC 045 Charred Brown
- Paint the tips with VGC 062 Earth, blend toward the roots
Inside of mouth and teeth
- Base with VGC 012 Scar Red
- Wash with VMC 822 German Cam Black Brown
- Paint teeth first with VGC 062 Khaki
- Highlight teeth with VGC 034 Bonewhite
Lips
- Thin application of VGC 066 Tan over the base coat of VGC 062 Earth
Eyes
- Apply a general wash to the area with VMC 822 German Cam Black Brown
- Base the inside with VGC 012 Scar Red
- Paint the whites of the eye with VGC 034 Bonewhite taking care to cover most of the red
- Paint the iris with VGC 045 Charred Brown
- Paint the pupil with VGC 051 Black
- Add a highlight dot with VGC 001 Dead White
Ears
- Base with VGC 062 Earth
- Wash recesses with VMC 822 German Cam Black Brown
- Highlight with VGC 066 Tan
- Final highlight with VGC 041 Dwarf Skin
Leather straps
- Base with VGC 045 Charred Brown
- Wash with VMC 822 German Cam Black Brown
- Highlight with a mix of VGC 045 Charred Brown + VGC 050 Cold Grey
Flute
- Base with a mix of VMC 833 German Cam. Bright Green + VGC 040 Cobra Leather
- Wash with VGC 045 Charred Brown
- Work back up with the base coat
- Highlight with VGC 063 Desert Yellow
- Highlight again with VGC 061 Khaki
- Paint the whole area of the strap designed with alternating triangles VGC 034 Bone White
- Pick out individual triangles on one side with VGC 030 Goblin Green then VGC 031 Camouflage Green
Necklace and earring
- Base the beaded chain with VGC 045 Charred Brown
- Medallion and necklace are based with VGC 040 Cobra Leather
- Medallion and necklace are highlighted first with VGC 038 Scrofulous Brown
- Final highlights with VGC 049 Stonewall Grey
- Inside of the medallion is straight VGC 051 Black and VGC 034 Bonewhite
- Wash the beaded chain with VMC 822 German Cam Black Brown
- Randomly dot beads with either VGC 038 Scrofulous Brown, VGC 040 Cobra Leather, VGC 042 Parasite Brown, or VGC 044 Dark Fleshtone
Bracelet 1
- Base with VGC 040 Cobra Leather
- Highlight first with VGC 038 Scrofulous Brown
- Highlight again with a mix of VGC 038 Scrofulous Brown + VGC 061 Khaki
- Highlights with VGC 049 Stonewall Grey
Bracelet 2
- Base with VGC 045 Charred Brown
- Highlight with VGC 044 Dark Fleshtone
- Highlight again with a mix of VGC 044 Dark Fleshtone + VGC 061 Khaki
Scythe handle
- Base with VGC 043 Beasty Brown
- Wash thoroughly with VMC 822 German Cam. Black Brown
- Highlight raised areas first with VGC 062 Earth
- Highlight edges with a mix of VGC 062 Earth + VGC 050 Cold Grey
Scythe blade and ring fasteners
Base with VGC 050 Cold Grey
Dark regions with VMC 994 Dark Grey
Highlights with VGC 049 Stonewall Grey
SPRITE
Skin
- Base with VGC 028 Dark Green
- Wash with VGC 027 Scurf Green
- Highlight with VGC 026 Jade Green
- Highlight further with VGC 025 Foul Green
- Blend with initial wash, VGC 027 Scurf Green
Hair
- Base with VGC 042 Parasite Brown
- Wash with VGC 045 Charred Brown
- Bring back up with VGC 042 Parasite Brown
- Highlight with VGC 008 Orange Fire
- Highlight again with a mix of VGC 008 Orange Fire + VGC 034 Bonewhite
Wings
- Base with VGC 047 Wolf Grey
- Add very light washes of VGC 024 Falcon Turquoise and VGC 013 Squid Pink
- Add a dab of VGC 024 Falcon Turquoise wash to the base area and underside of the top of the wings.
- Highlight selectively with pure VGC 001 Dead White
