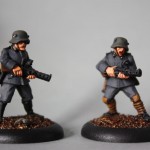
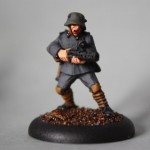
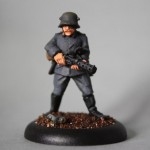
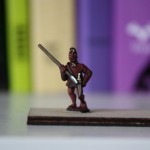
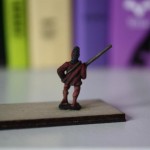
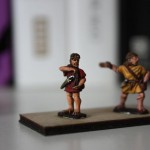
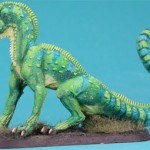
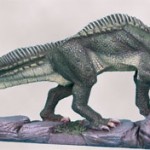
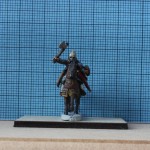
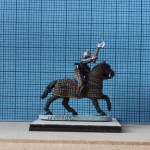
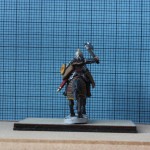
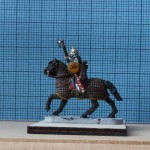
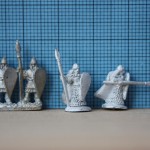
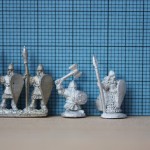
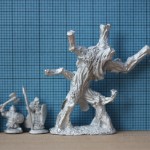
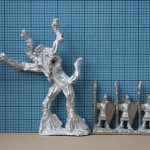
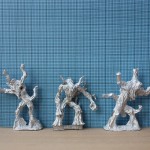
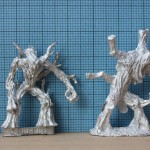
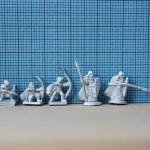
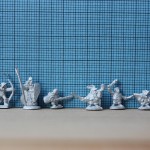
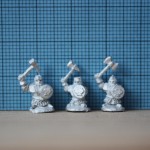
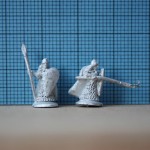
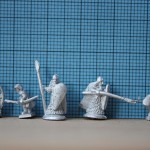
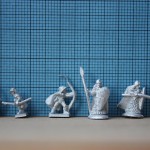
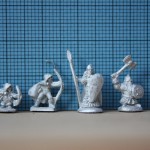
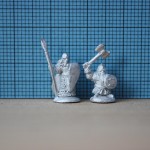
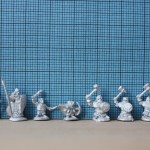
More Copplestone Germans and One Jolly Good Chap

These represent some of my experiments with the Dallimore method, although here and there I found myself resorting to my typical blending techniques.  I obviously still need to finish the bases.

For more on the Dallimore method see his Web site here, or buy a copy of his beautiful book Foundry Miniatures: Painting & Modelling Guide.  Also check Steve Dean’s site here.

Rackham Recommences C.H.O.

Rackham Entertainments revamped Cry Havoc Online.

Rackham Entertainment's revamped Cry Havoc! Online.

Rackham Entertainment has just sent to subscribers the latest incarnation of their Cry Havoc! Online newsletter.  This installment of CH!O includes links to their Web site with information on the forthcoming C:AoR army boxes (Lion and Wolfen), Rush n’ Crush the board game, the new Previews page, and more.

If you’re not already a subscriber, visit the Rackham Entertainment site to sign up.

Administrative Announcement, 21 September 2009

I’ll be uploading links and a blogroll over the next few days.

Priming With Acrylic Gesso, by WeeToySoldiers

Editor’s note: This article was originally published by weetoysoldiers.com at
http://www.weetoysoldiers.com/wp/?page_id=34 and is reprinted here with permission of the author in accordance with the terms defined by the author’s release posted on weetoysoldiers.com before its demise.  I have not modified the prose in any way, except to remove dead links (indicated in red) and add captions to the images.  Regrettably, I was unable to secure copies of the 100-frame drying gesso animation and larger images of some photographs before weetoysoldiers.com went offline.  These may be uploaded at a later date, however, if I am contacted by or can locate the original author.

Priming With Acrylic Gesso

by Hyun (weetoysoldiers.com)

Originally posted: September 19, 2005.
Last updated: February 27, 2007
Latest changes: Added some photos of painted miniatures that were primed with gesso.

Click here to jump to the new section. Click here to see the history of changes to this page and project.

September 19, 2005

I first came across gesso a few months ago on TheMiniaturesPage.com discussion forum. At once I was intrigued: Here was something that could be brushed on, was non-toxic, water-thinnable and water-washup, and works wonders as a primer? I must investigate!

I had primarily used spray-can varieties of primers, anything from hobby-specific like the Tamiya Gray Surface Primer, to the hardware store-variety like OSH or Krylon or Rustoleum Painter’s Touch. They all work well more or less, but, in my opinion, have a few major drawbacks. One, the weather and lighting condition has to be right — too much humidity or too windy or too late at night, and you’re out of luck. Second, and more importantly, the solvent- and lacquer-based primers have nasty, often carcinogenic, toxic chemicals that I’d rather do without. Third, unless you’re really careful, it’s easy to overapply the primer and end up with buried/obscured details.

Gesso is a thick-ish liquid surface preparatory compound used to prepare artist’s canvass before painting. It contains finely ground chalk with some sort of glue or binding agent. Different brands of gesso are made differently — apparently some carry carcinogenic warnings, and some are certified non-toxic. I’ve also read that it’s made of plaster of Paris with glue. Either way, it provides an excellent adhesive “tooth” for paint to grab onto. I’ve been priming miniatures with gesso for the past six months, and have been very pleased with results.

Now, the obvious down side is that it is brush-applied, and thus, somewhat time-consuming. This may not matter if you are a sloooooow painter like me, for whom the measure of progress and achievement is not the number of finished miniatures, but rather a happily cluttered workdesk full of miniatures in progress. I’ve heard of people asking about airbrushing gesso, but I honestly wouldn’t recommend it — the mix is thick enough to guarantee blocking and messing up your airbrush. And if you thin it to the point of being able to somewhat successfully airbrush it with an external-mix airbrush, then I would venture to guess that it would lack the cohesion to act properly as a primer.

The local craft stores carry Liquitex brand (the only brand I’ve used) of acrylic gesso in white, black, and clear. You can tint the white and clear gesso with inks or paints of your choice (well, you can lighten black gesso as well, I suppose, but most people will find it easier to go from white to darker than black to lighter). I started out with white gesso and tinted it with black craft acrylic paint, to give a nice, neutral grey look. I thin it with Tamiya airbrush thinner, but you can also use distilled water. Liquitex website states that you can use up to 1:4 ratio (20%) of water to gesso to thin, and to use water and the Liquitex Matte Medium in equal amounts if thinning more than 20%. I’ve thinned it way more than 20% using the Tamiya Airbrush Thinner, but I’ve found that thinner gesso tends to get scratched off easily in handling.
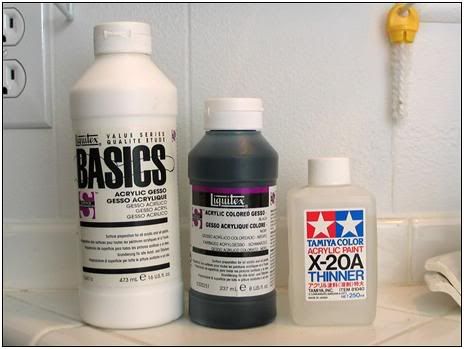
Image 1.

Image 1.

I eventually got a bottle of black gesso as well, as I found myself applying a coat of black ink wash to grey gesso-primed miniatures when I absolutely needed a black basecoat.

Here are my supplies for making primer mix — Gesso, Delta Ceramcoat craft acrylic black paint (99 cents at the local craft store), Tamiya airbrush thinner in a dispenser bottle, and of course, a mixing pot:

Image 2.

Image 2.

The following image shows the progression of mixing gesso: first you start out with a dollop of gesso (the quantity obviously depending on how many miniatures you are going to prime!), then add black paint, then add thinner or water and mix thoroughly, and finally, you have a nice, shiny, smooth solution of primer, ready to use.
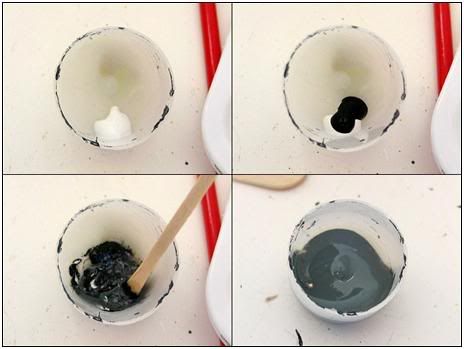
Image 3.

Image 3.

Here are two pictures of the Lord of the Rings plastic Warrior of Minas Tirith figure, before and after priming with gesso:
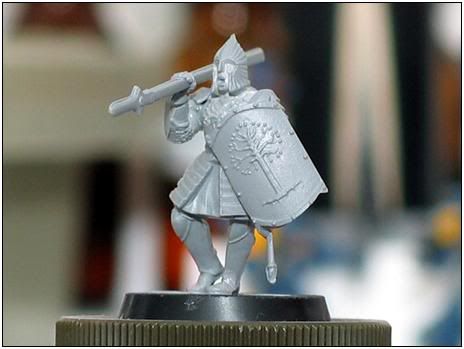
Image 4.
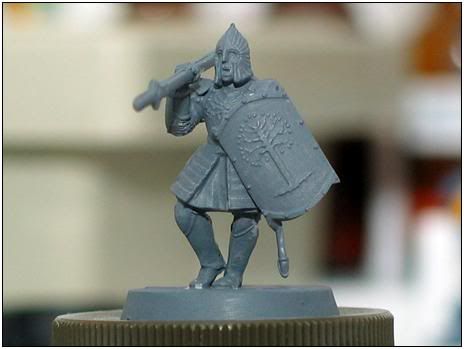
Image 4.

Image 5.

Image 5.

When applied, gesso goes on thick and obscures details, but as it dries, it shrinks down and goes on flat. In fact, it works so well that you can apply it directly to prepainted figures with no loss of detail (this would obviously depend on how thickly the paint was used in painting the figure):
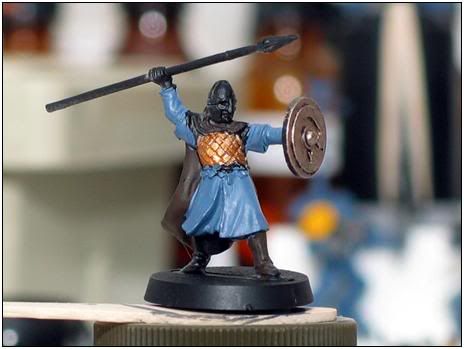
Image 6.

Image 6.

Image 7.

Image 7.

Another nice thing about working with gesso is that you have absolute control over how it’s applied. Put it on too thickly?
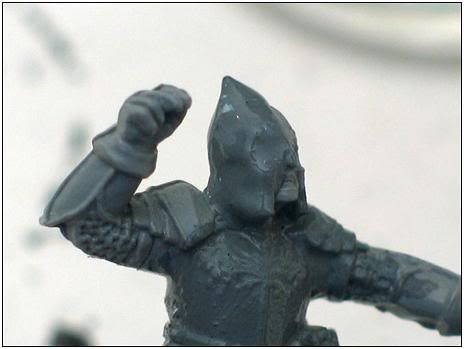
Image 8.

Image 8.

No problem! Just use the brush to wipe away the excess. Much easier, cleaner, and safer than trying to damage-control over-applied spray can primers.
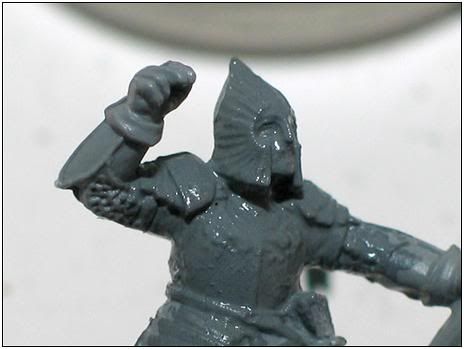
Image 9.

Image 9.

… notice how gesso obscures details above when it’s wet. It dries down to reveal the details:
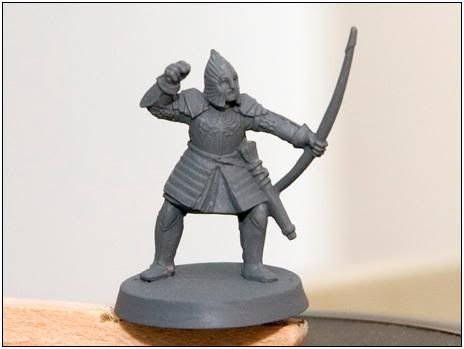
Image 10.

Image 10.

Here is a comparison photo showing gesso-primed plastic gun (above), and before priming (below):
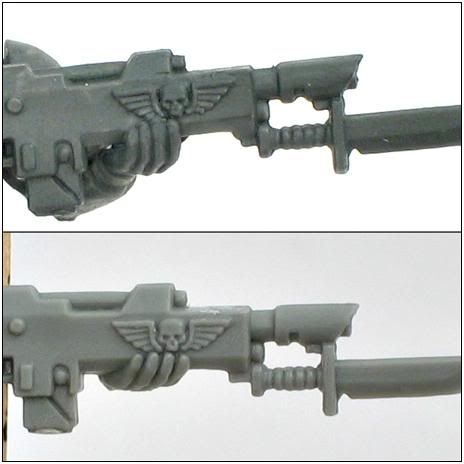
Image 11.

Image 11.

Here’s a picture of a white-gesso-tinted-with-black primed metal miniature, from the Dark Age line of figures. The leftmost one is primed with gesso, then baremetal, then a figure primed with Tamiya spray can grey primer:
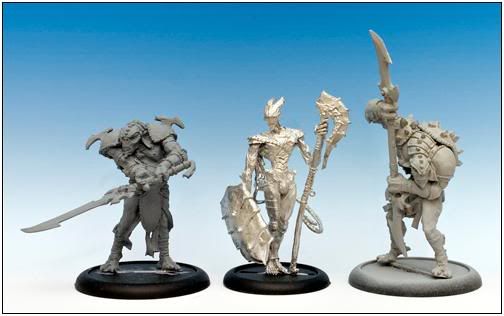
Image 12.

Image 12.

Click here to view larger version (1800×1123, 407KB)

… and a closeup of the gesso-primed miniature:

Image 13.

Image 13.

Click here to view larger version (1200×989, 271KB)

When the leftover gesso dries, it peels off in one rubbery piece:
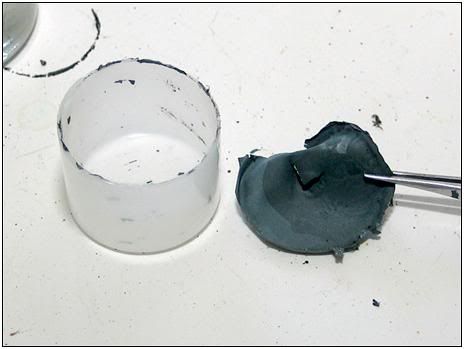
Image 14.

Image 14.

One note about gesso safety. Apparently, some brands of gesso come with carcinogenic warning labels. The Liquitex brand I use is certified non-toxic, including meeting the California Proposition 65 requirements. Here’s the blurb from the MSDS (Material Safety Datasheet) for their gesso:

“Product has been certified as non-toxic by The Art and Creative Materials Institute, Inc. and conforms to ASTM D-4236 Standard Practice for Labeling Art Materials for Acute and Chronic Adverse Health Hazards.”

There you have it. Obviously, if you have hundreds of figures to prime at once, or if you are working with smaller models (say 10mm and smaller) where any kind of primer might obscure details, it may not work for you. But if you are looking for a safer, use-at-any-time method of priming your miniatures, give gesso a shot!

Added: January 17, 2007

Over on TMP, there is a thread going on about using gesso as primer. As regular visitors of WeeToySoldiers may know, I’m a big fan of using gesso for priming figures for many reasons, not the least of which is that I like to paint late at night, which effectively precludes using spray can primers.

One poster, a user of gesso, commented to the effect that you don’t really need to add water or otherwise thin gesso. His exact words were “jam the gesso into the crevices and glop it on. Dries perfectly thin.” This piqued my interest, as well as (it must be admitted) a dose of skeptism. I’ve always thinned my gesso, and have gotten good results with it. Oh sure, usually you have to go back and touch up where gesso shrank and created bare “pinhole” spots, but that’s easily done (gesso shrinks as it dries, which makes it an ideal primer, as there is no or minimal loss of details). Thinned gesso also seemed more prone to being scratched off or otherwise damanged in handling, but I attributed that to just “gesso being gesso.” To be sure, painted figures that were primed with gesso seem to wear handling just fine.

So, my curiosity being aroused, I decided to experiment with non-thinned gesso, straight from the bottle, and furthermore, to “glop it on” and see how it’d dry. For the experiment, a brave Urban Mammoth Junkers Convict Legionary “volunteered”:
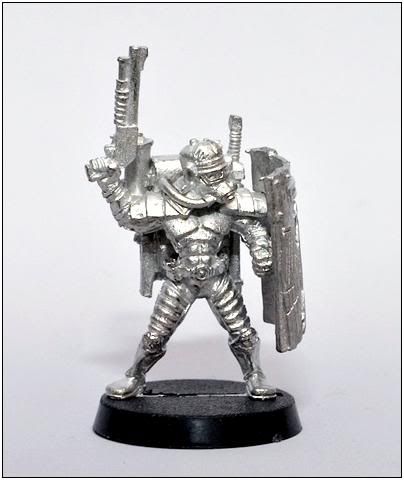
Image 15.

Image 15.

Here’s my black gesso, a Liquitex brand variety:

Image 16.

Image 16.

… and here’s the gesso, straight from the bottle. I actually ended up using about 3x that amount, as I applied it rather liberally!

Image 17.

Image 17.

Now, here are the pictures of the experiment in progress. First, we have the Legionary with its side and front profiles:
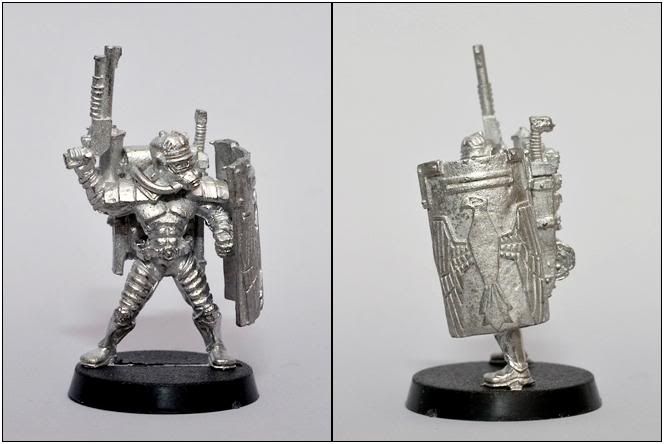
Image 18.

Image 18.

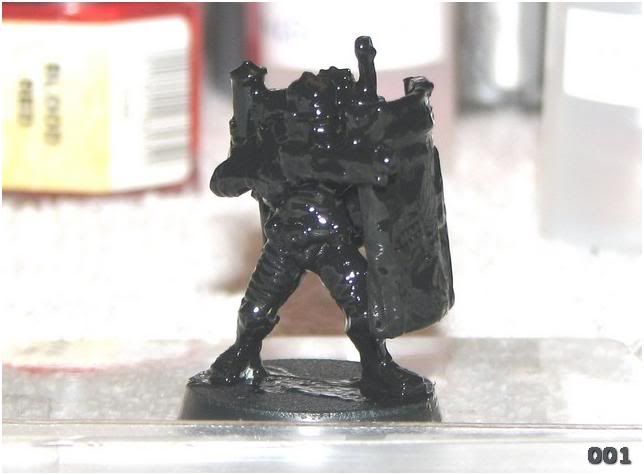
Here the gesso has been applied. Notice the complete loss of details! I had to edit the image to overexpose the shots, to draw the details out.
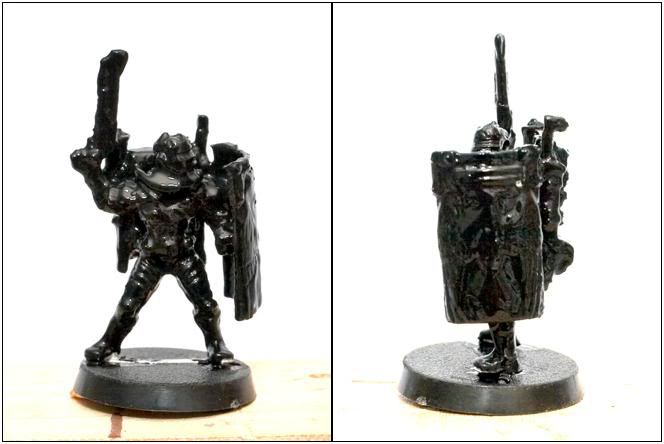
Image 19.

Image 19.

Some people say to let gesso dry for 24 hours before painting over them. I don’t know if that really makes that much difference. I’ve painted over gesso-primed figures after as little as a few hours, and have had no negative results, but I can’t say conclusively that you have to or don’t have to wait X number of hours.

Anyway, here’s the figure, two hours after the gesso was applied:
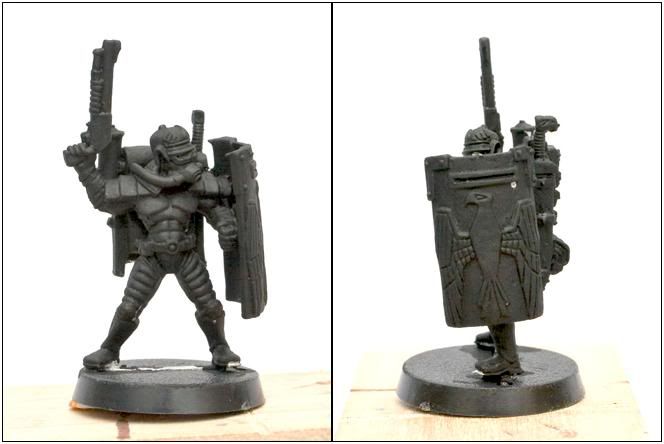
Image 20.

Image 20.

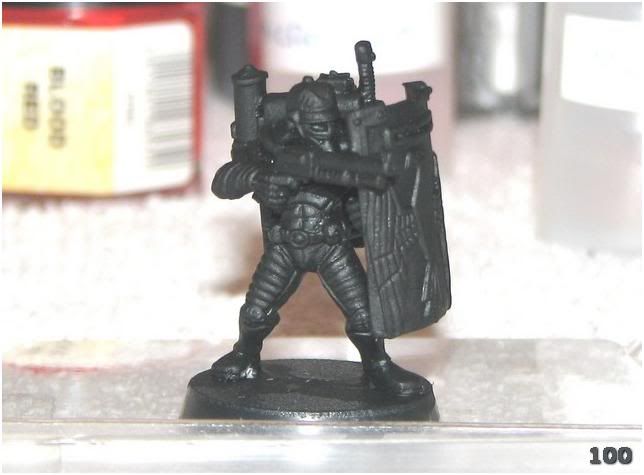
Well, I do stand corrected! It seems pretty amazing that all that gesso dried up and shrank, but it does seem to appear that that’s the case, doesn’t it? There’s a pinhole bare spot on the shield that I’ll need to touch up, but the shrinkage-induced bare spots are far, far fewer and smaller than when I use thinned gesso. Well, how about that!

The next two pictures show comparison shots of the head area, and the shield details:
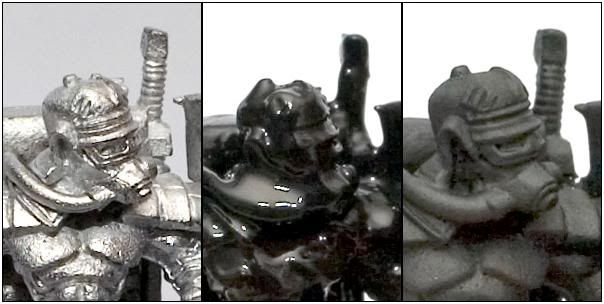
Image 21.
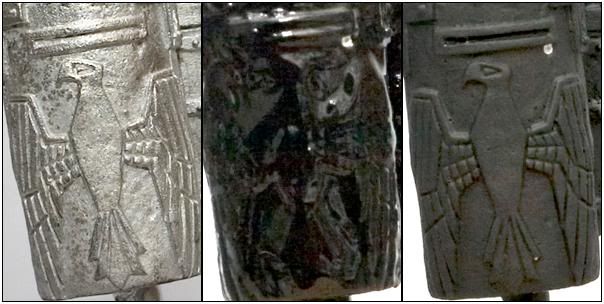
Image 21.

Image 22.

Image 22.

I’d be interested in hearing about your gesso techniques and habits!

Added: February 25, 2007

Watching Paint Dry.

Well, actually, not paint, but gesso.

The section above on using non-thinned gesso has turned out to be quite popular, judging from the website statistics. A common refrain I see that it’s almost unbelievable how much gesso manages to shrink as it dries.

Well, wonder no more. Here’s an interesting time-waster for you to enjoy — a series of photos of gesso drying on a miniature! Thanks to the intervalometer setting on my digital camera, this was achieve with minimal fuss and also with far greater precision than anything I could’ve managed manually.

Basically, I set up the camera to take 100 photos in sequence automatically, one every minute. Then the figure was primed, and the camera activated. So we went from:
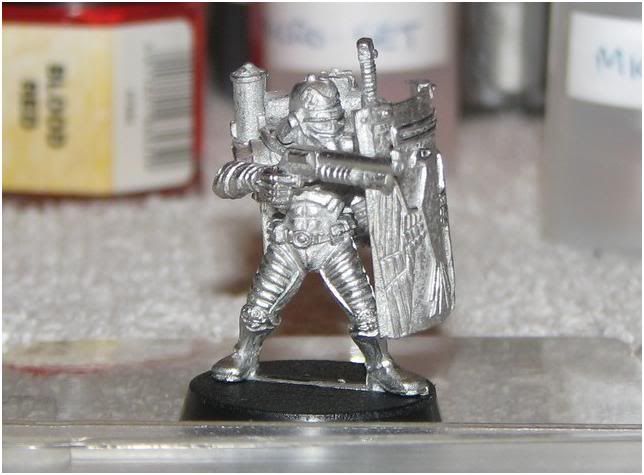
Image 23.

Image 23.

… to this…

Image 24.

Image 24.

… to this:

Image 25.

Image 25.

… and you get to see it, each step of the way!

There are two ways to view it. The first is a vertically scrolling webpage with the 100 photos (actually 101, including the shot of the figure before it was primed) in sequence. You can see that by clicking on the image below:
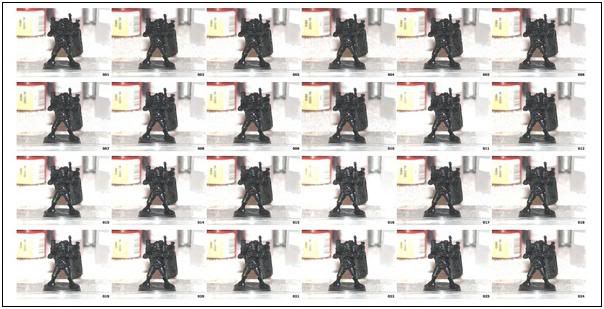
Image 26.

Image 26.

The other method requires you to have Javascript enabled on your web browser. It’ll launch a new window, in which the 101 photos will display in sequence as an animation. The default setting is for image to change every 0.5 seconds, but that can be adjusted by you during the playback (”500″ is 0.5 seconds, so if you want one second delay, type in “1000″ and click on “Change Interval” button; “250″ for 1/4 second, etc.). There’s a 3-second pause before it’ll loop again once it reaches the end of the animation.

Click here to see animation of gesso drying.

Hope you found this interesting!

Added: February 27, 2007

Here are some finished miniatures that were primed with gesso.

The LotR High Elf Warrior and the Ultramarine sergeant were primed with gesso; the Imperial Fists marine in the middle was spray-can primed.
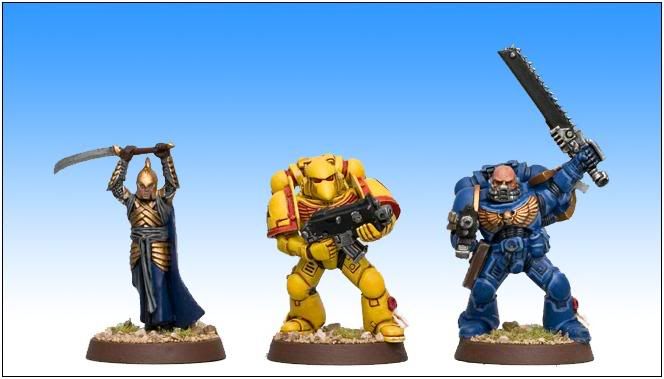
Image 27.

Image 27.

Night Goblins from The Battle for Skull Pass set, primed with gesso:
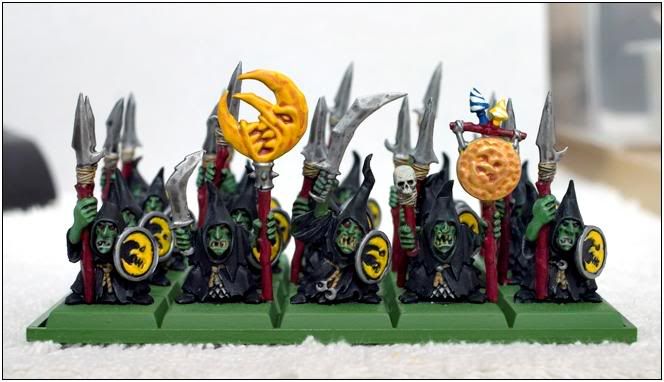
Image 28.

Image 28.

Dwarf Miners from the Skull Pass set, primed with gesso:
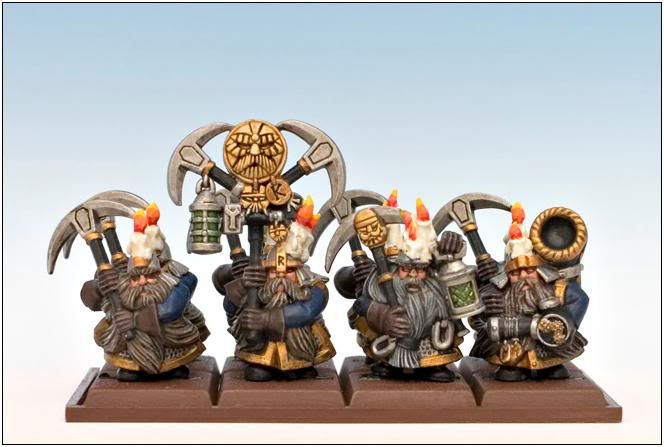
Image 29.

Image 29.

Skull Pass Dwarf Thane, again primed with gesso:
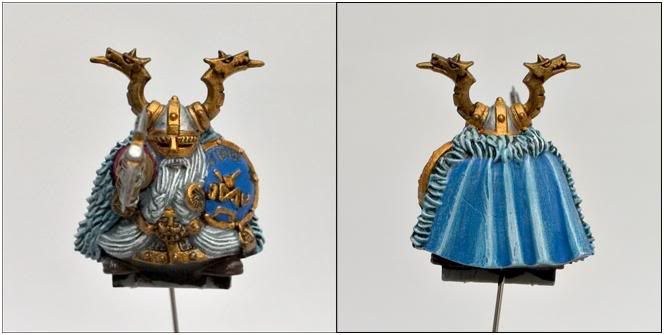
Image 30.
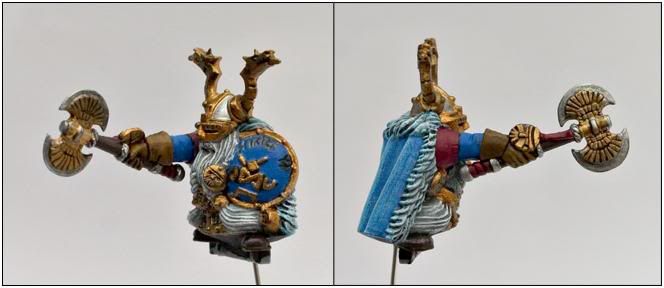
Image 30.

Image 31.

Image 31.

Skull Pass Dwarf Warriors (can you tell what I’ve been working on lately…)
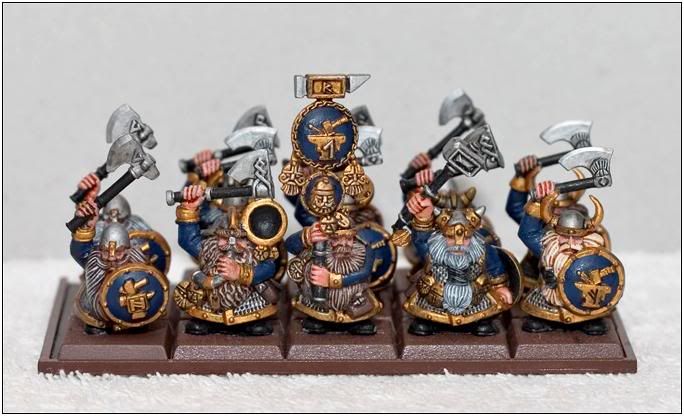
Image 32.

Image 32.

History of changes:

September 19, 2005 — article posted online.
October 26, 2006 — general content addition, including spray primer hazards, non-toxicity of gesso, and thinning gesso. Added external links to the Liquitex gesso product information page, and its MSDS (Material Safety Datasheet) page. Added two pictures of a gesso-primed metal miniature. Changed the article title from “Acrylic Gesso as a Primer” to “Priming with Acrylic Gesso.”
January 17, 2007 — Added test results of applying non-thinned gesso straight from the bottle.
February 25, 2007 — Added 100 sequential photos of gesso drying. Yep, watching paint dry!

For more information:

DBA WIPs


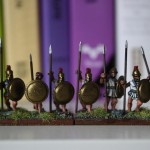
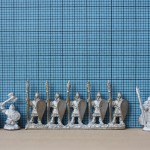
These are a few shots of some armies for DBA that I’m slowly picking away at, the Later Carthaginian DBA box set from Corvus Belli and a couple Greek DBA box sets from Xyston, Athenian 450BC-275BC and Spartan 450BC-275BC (the ones in the photo are from the Athenian set).  The Xyston sculpts are fantastic; I haven’t found anything to complain about concerning the models for these two armies.  The CB sculpts are quite nice as well, but some of the faces lack sufficient detail or are structurally odd (i.e., the skirmisher with the yellow tunic in the photo above) and the pose and anatomy of the Carthage elephant looks unnatural to me.  Regardless, I’d buy them again.

All of these were primed with Holbein Acryla gesso (black).  I’ll be republishing WeeToySoldiers’ article about gesso on this site soon, for those of you who miss or have yet to read it.

Obelisk Miniatures

(from the top) Conquistador sword and bucklermen, arquebus, and caballeros

(from the top) Conquistador sword and bucklermen, arquebus, and caballeros

I stumbled upon this manufacturer the other day, Obelisk Miniatures.  Obelisk is a German company with a small catalog including 10mm Conquistador and South American natives, 28mm San Francisco Chinatown gangsters and civilians, and one terrain accessory (universal plant).  An eclectic selection, to say the least.

I’m not really interested in Chinese gangsters or Conquistadors at the moment, but I won’t discount the possibility that things could change somewhere down the road.  The Conquistadors look like especially nice models.  If I was building a Warmaster Empire army, I’d definitely add some to my collection.  For Variety’s sake, if for no other reason at all.

NOTE: Painted samples of Obelisk Miniatures’ Conquistadors featured in this post are Copyright © Obelisk Miniatures

Beyond Smaug: Fielding the Other Dragons for 10mm Middle-earth

If you’re like me, Games Workshop’s Great Battles in Middle-earth: The Battle of Five Armies box set (slight price increase as of late) and its supporting release of metal blisters were just the beginning of your foray into the 10mm Middle-earth hobby.  You’ve probably perused the plethora of catalogs of 10mm miniatures available on the Web dozens of times in search of models to use for the armies, monsters, beasts, characters, siege works and even architecture that were never a part of GW’s release plans for the system or have since gone out of production (i.e., Smaug, trolls, elven cavalry, spiders of Mirkwood, dwarf archers, bat swarms, and the storm giant).  Not surprisingly, one of the more popular searches is for dragons.

According to The Encyclopedia of Arda, there are two primary divisions and two subdivisions of the dragon race: fire-drakes (urulóki), cold-drakes, flightless fire-drakes (urulóki, fire-drakes of the north), and long-worms.  In the works of Tolkien, all of these types of dragon appear at least once as named characters: Glaurung the Golden (flightless fire-drake, urulokë), Ancalagon the Black (fire-drake, urulokë), Scatha the Worm (cold-drake or long-worm), and Smaug the Golden (fire-drake, urulokë).  As the names suggest, the colors of dragon include, but are probably not limited to, gold, black, and red-gold (Smaug).

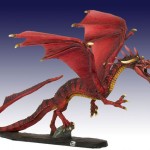
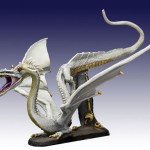
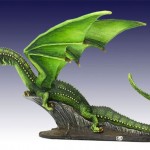
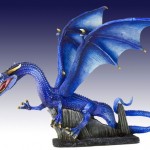
There’s a vast array of models from various manufacturers from which to choose proxies for named or generic Middle-earth dragons.  Reaper, for example, has a number of great dragons that would potentially work for 10mm gaming.  Some of my favorites include Shadow Dragon, Dragon of Fire, Silver Dragon, Narthalyssk, Guardian Dragon, Wy’zern, Young Fire Dragon, and Young Ice Dragon.  But if you like the look of GW’s metal Smaug model for BoFA, then it’s probably a good idea to keep aesthetic consistency in mind when looking for more dragon models.  In my opinion, the range of dragons with the closest match to the BoFA Smaug is Dark Swords’ Dennis Mize Dragons from their Visions in Fantasy line.

The Dark Sword dragons match the GW Smaug in terms of both size and aesthetics.  Lithesome, perhaps, is the best adjective to describe the lot.  There is enough variety among the DS dragons to choose proxies for all of the Middle-earth dragon types.  Personally, I think either of the chromatics would work great for Ancalagon and Glaurung (although this would require some minor modeling with Green Stuff, since you wouldn’t need the wings for the latter); and for Scatha, either the green or blue dragon, because they are the longest of the bunch.

NOTE: Painted samples of Dark Sword’s dragons featured in this post are Copyright © Dark Sword Miniatures

REFERENCES:
Dragons,” Encyclopedia of Arda.
Dragon (Middle-earth),” Wikipedia.
Asylum Online Store, Reaper.
Dennis Mize Dragons and Beasties,” Visions in Fantasy, Dark Sword.
Specialist Games, Games Workshop.

Khurasan Adds New Codes to Kushans/Indians

Khurasan Miniatures has added some new models to their range of Kushan Empire, Western Satraps, Satavahana Dynasty Indians, and Eastern Parthians (2nd Century AD).  Which specific models are new is not stated on their Web site.

I really like Khurasan.  I bought a ton of their stuff when it first started coming out, and plan to add to my collection once I’m back in the States.  I also need to finish painting a lot more of what I have before I can justify getting more.  So far I’ve painted one model with another nearing completion.  I’m spread pretty thin.

UPDATE: According to a post uploaded by Khurasan on TMP, the new models are as follows:

Indian cavalry
Indian javelinmen
Indian elephant
Indiant general in elephant
Indian levies

Alkemy Genesis Now Available for Download

Cover for the French print edition of the Genesis rulebook

Cover for the French print edition of the Genesis rulebook

The English edition of Alkemy’s Genesis rules set is now available as a free download from their Web site.

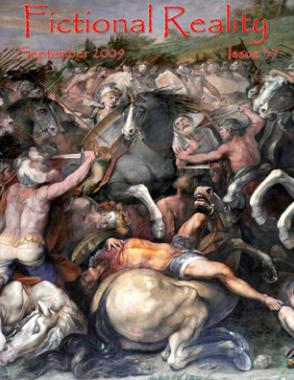
Fictional Reality No. 37 Now Available

The September 2009 issue is now available for free download

The September 2009 issue

You can download the latest issue of Fictional Reality from their Web site:

The September 2009 issue of Fictional Reality is up and ready to be downloaded.  Inside you’ll find…

  • Battle Reports: Warhammer Fantasy Battles and Warlord
  • Game Reviews: Twilight, Hammer’s Slammers and more
  • Miniature Reviews: Reaper, Infinity, Hasslefree and more
  • Painting Workshop: US APEs for Incursion and SOTR.
  • Army Building: A new Rezolution Dravani army for me

Settlement, Finally…Hobbit’s a Go

Anthony McCartney, writing for the AP, reports that the long-standing feud between New Line and the Tolkien estate is finally over:

The heirs of J.R.R. Tolkien and a movie studio that produced the blockbuster “The Lord of the Rings” trilogy have settled a lawsuit over the films’ profits, it was announced Tuesday.

Eureka 10mm Fantasy, Second Release, Size Comparisons

I’m pretty excited about the new Eureka 10mm fantasy releases.  For me, the most anticipated models from this release were the wood trolls, because I’ve scoured the universe looking for good miniatures to represent ents for 10mm Middle-earth.  I’m aware of nearly every alternative available on the market, but none of them were able to deliver the level of detail and aesthetic composition I was after.  Now the wait is finally over, and I’m more than satisfied with what Eureka has delivered.

That being said, I would have liked at least one or two more unique wood troll sculpts, as two is not enough for anyone planning to field more than four of these.  Fortunately, I think I’ve come up with a remedy for this minor problem: Reaper’s saproling models from their WarLord range.  They fit perfectly, in terms of size and structure, with the Eureka wood trolls, and will lend a sense of variety to my ent army, which will number around twelve models total.  I also see some potential for customization here, taking bits and parts from the Eureka and Reaper models to make custom heroes à la Treebeard.

I plan to mount the saprolings and wood trolls on 40mm round bases to match my Balrog.

Eureka’s new anvil dwarves were a welcome surprise.  Eureka sent me a free sample of one of their chaos dwarves when I first ordered a bunch of war elephants, and they were a nice match with the GW BoFA plastic and metal dwarves.  I only ordered one pack of the anvil dwarves, because I wanted to check them out before making a larger investment.  I’m definitely ordering at least three more packs.  These are fantastic models.  The anvil on the shields will have to go, but that’s a minor problem.

The packs of anvil dwarves include three unique sculpts.

The new warspite elves are a huge improvement over the elf archers and warriors (wood elves) from Eureka’s first release.  The wood elves were true 10mm (to the top of the head), but too small to work with any other ranges beyond the plastic GW BoFA stands.  The new warspite elves are a tad smaller than Copplestone 10mm, which, while not necessarily the industry standard, are the yardstick by which I measure all other potential models at this size.

Packs of the warspite elves include two different sculpts, spears-up and spears-down.

I only bought one pack of warspite elves, but will get at least three more.  I intend to paint them up like first-age elves: blues, grays, greens, and gold.

New Eureka 10mm Fantasy

Painted samples from the latest editions to Eurekas line of 10mm fantasy models

Painted samples from the latest editions to Eureka's line of 10mm fantasy models

Eureka recently announced the addition of several new models to their popular line of 10mm fantasy miniatures.

As with the earlier releases in this range, the figures are for the most part sold in multi-figure / multi-variant packs in keeping with the gaming philosophy of large units and epic sized armies that is so popular with gamers who collect this scale. They are designed to be compatible with many of the other manufacturers’ 10mm fantasy ranges that are currently available.

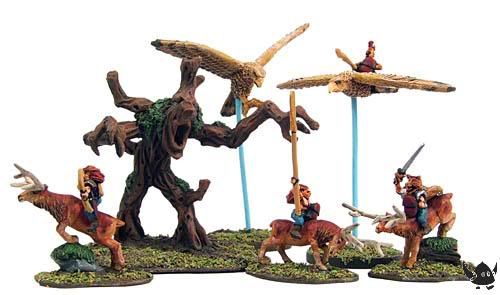
New to the range are wood trolls (ents), woolly rhinos, anvil dwarves, high elf reavers, warspite elves, elves on stags, elves on (giant) falcons, woodland creatures (wood elf heroes), and chaos dwarves with blunderbusses.  This is exciting news for Warmaster fans who have always wanted to paint and field an army of quality miniatures for the wood elf and chaos dwarves factions.  The rhinos may have potential for anyone hoping to assemble a custom ogre army like my friend DaveC.  I’ve been looking forward to this release since first learning about it from the author of Boromir and Kermit’s Hobby Page blog over a year ago.  I can finally add to my 10mm Middle-earth project decent ent models and unique rank-and-file metal dwarves and elves to complement the plastic strips that came with the BoFA box set.  Needless to say, I’ve already placed an order.

For more information, see the official news release, pictures of inked models from the whole range, and more painted samples on the Eureka Web site.  (For those of you wishing to place an order in the United States, be sure to check out the Eureka USA Web site.)  And be sure to click on the “Eureka” category of this blog to see images of some models from the first release.

Pathfinder RPG

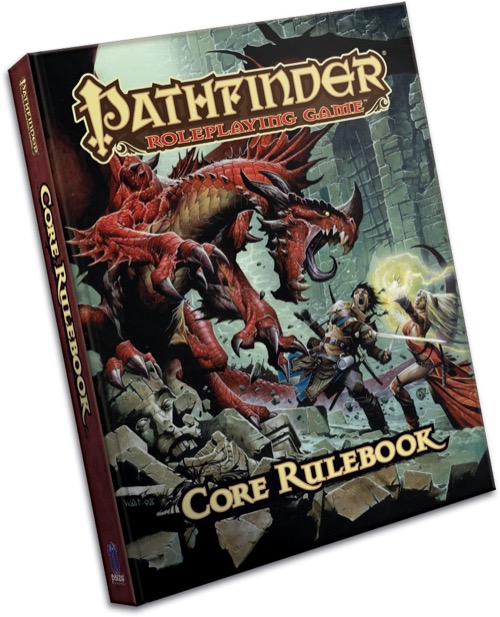
The new Pathfinder Roleplaying Game Core Rulebook (OGL) from Paizo

The new Pathfinder Roleplaying Game Core Rulebook (OGL) from Paizo

Chad Perrin has an interesting article on his blog about the new Pathfinder RPG.

“The truth is that Paizo seems to increasingly fix the problems that have arisen with the Wizards of the Coast Dungeons and Dragons product lines in a series of major changes, each with a broader scope than the last. It’s like a cyclical process of accepting a change, making the best of the change, and significantly improving on the flawed state of affairs that preceded these changes.”

The article was uploaded over a year ago, but is still relevant as the new Pathfinder book is now on sale at GenCon.  You can read more of the article here.

Poll

Your participation in the following poll is greatly appreciated.  Thanks.