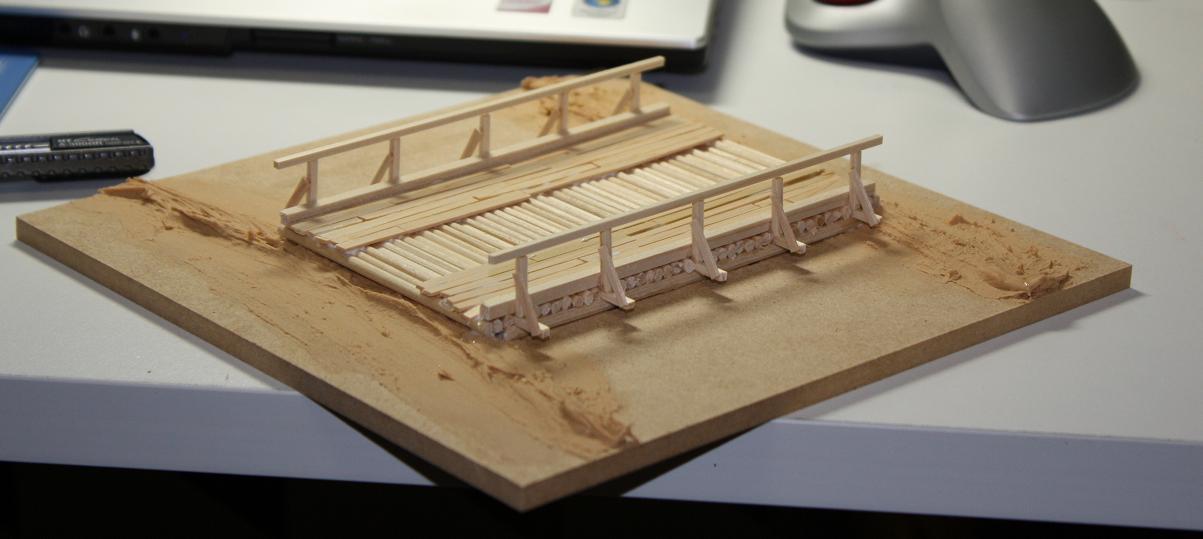
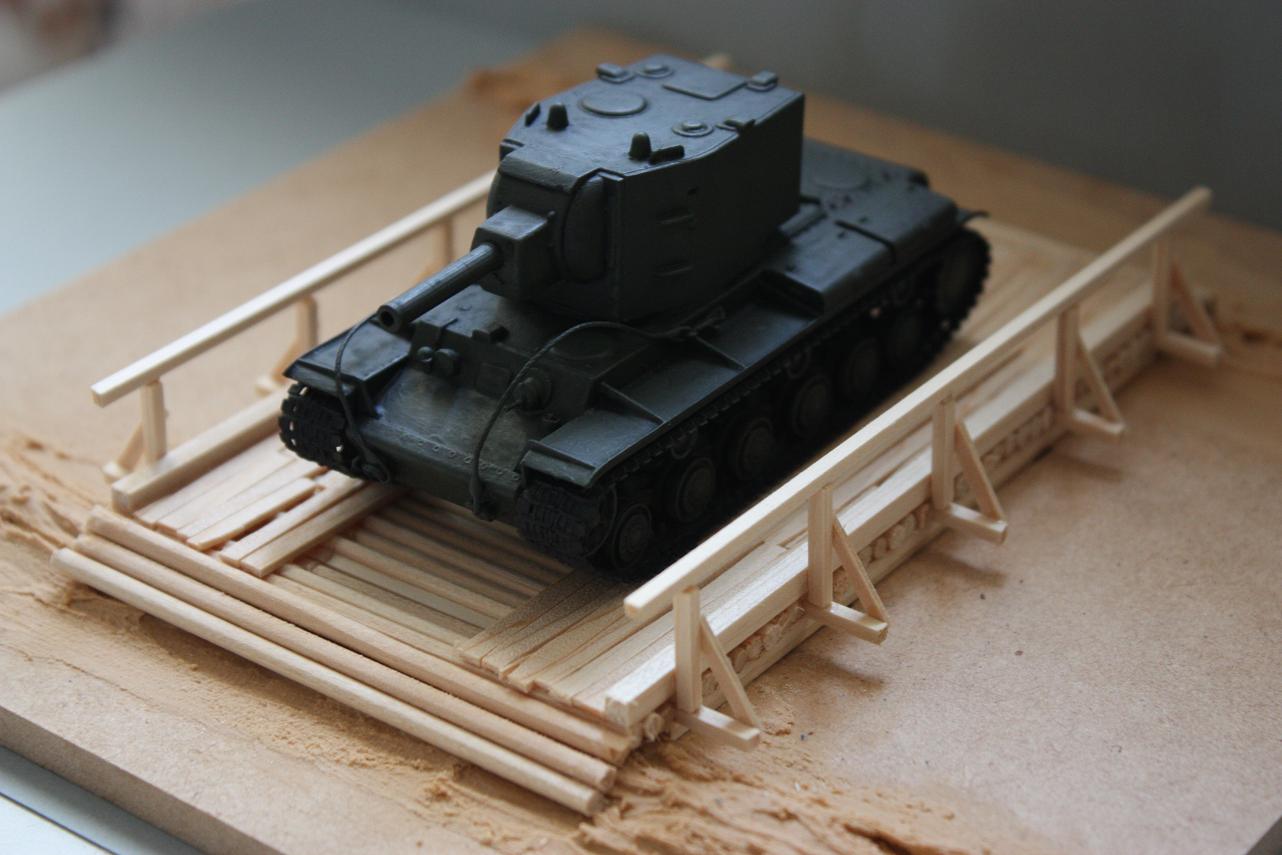
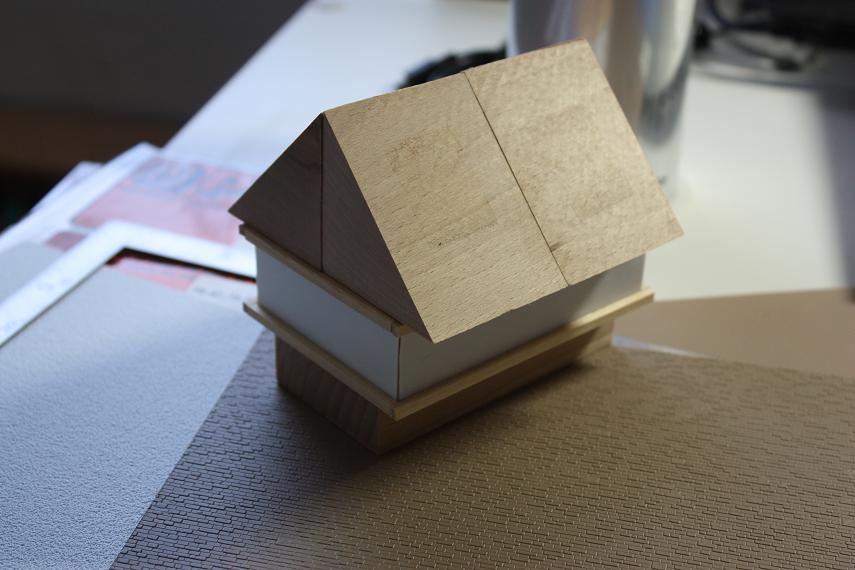
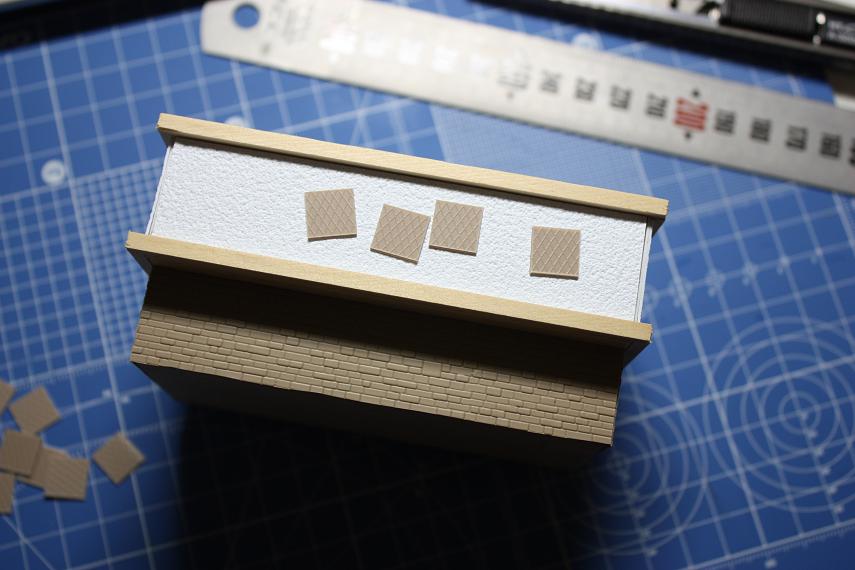
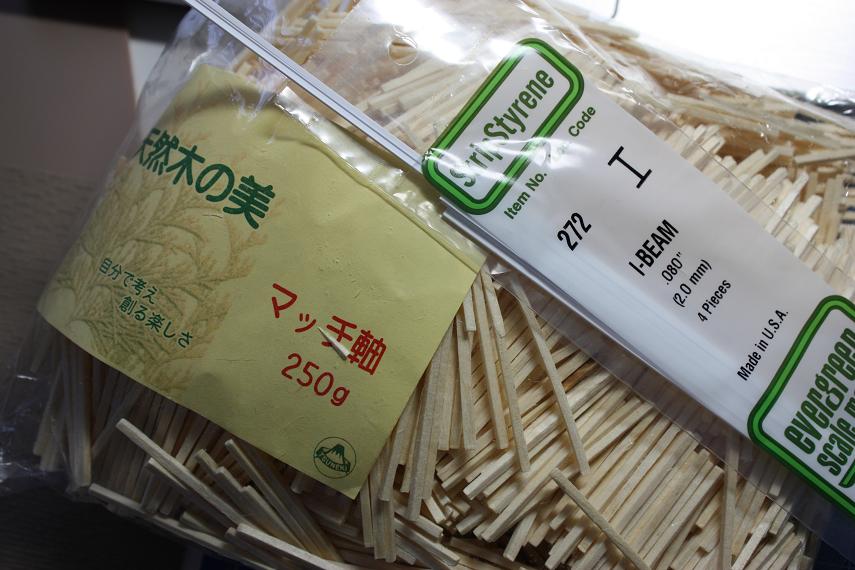
The latest addition to my 1/72 Blitzkrieg Commander terrain project, the bridge. With this and two basic river tiles finished, I’ll have the whole river done soon. Stay tuned.
Category Archives: 1/72 WWII
Blitzkrieg Commander, terrain WIPs
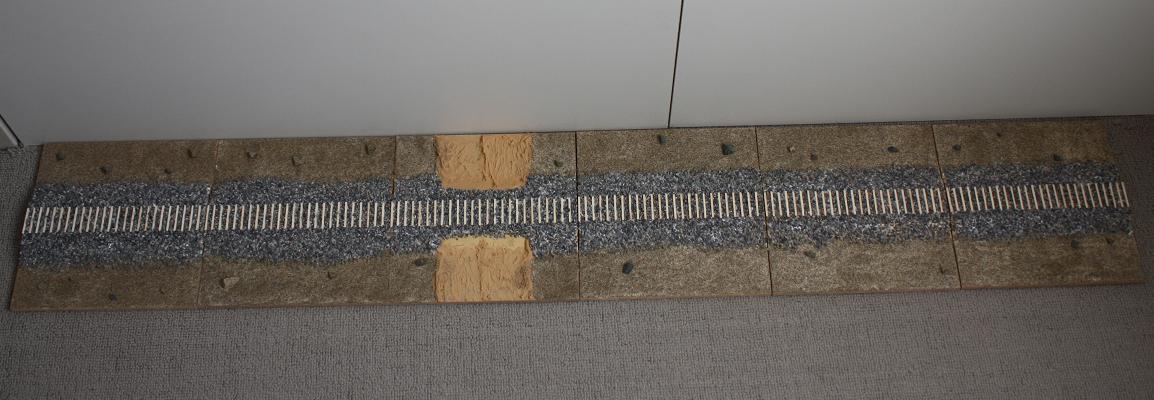
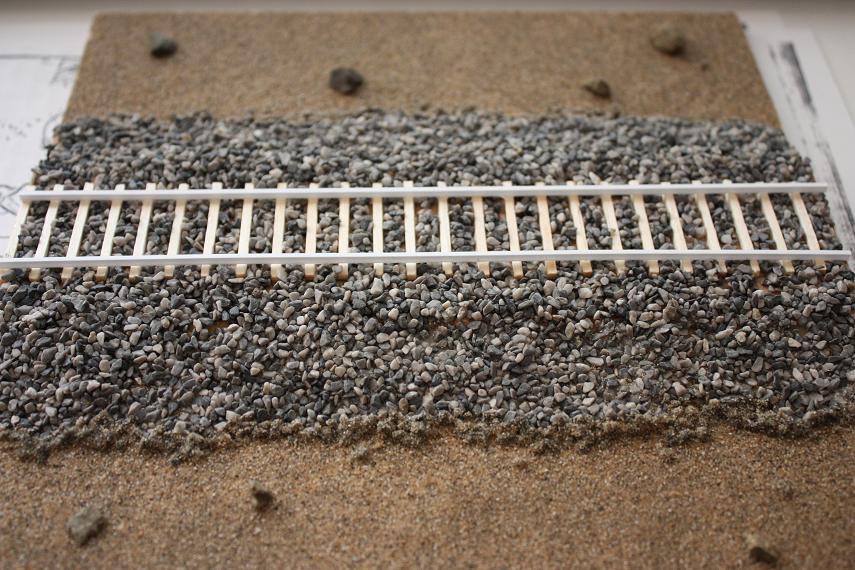
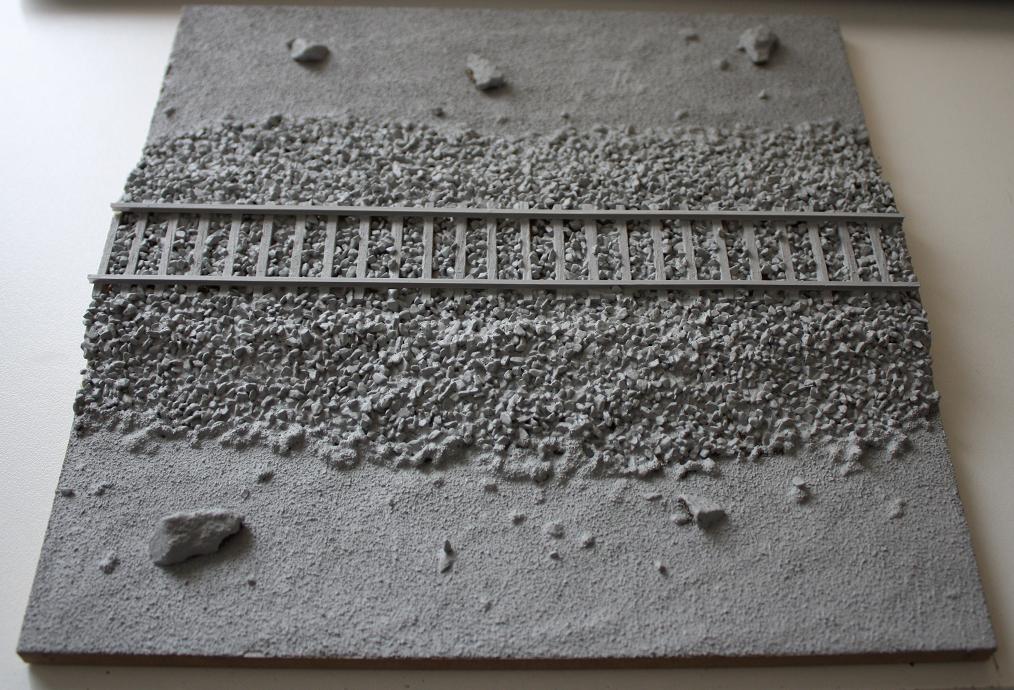
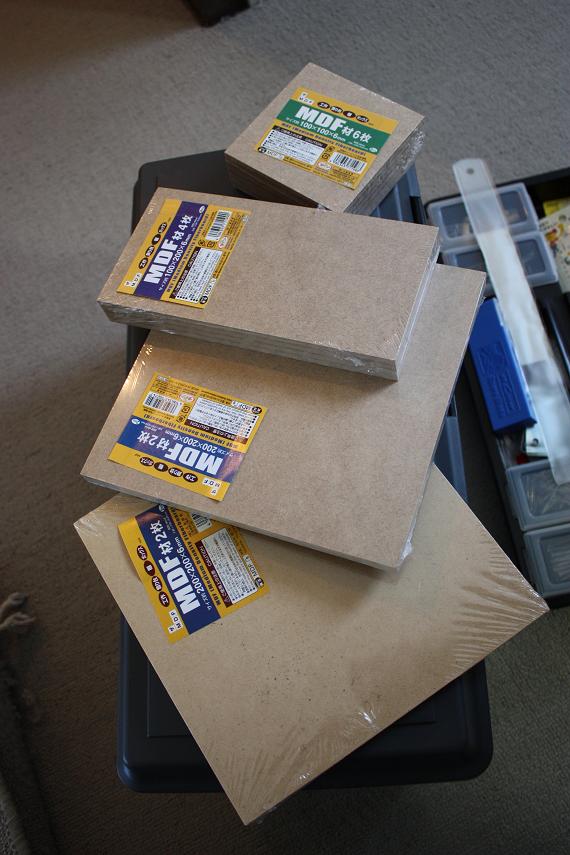
I’ve slowly been assembling a modular 1/72 scale terrain board for my groups Blitzkrieg Commander games. Due to the types of tables available to us, we normally play on a 120cm x 200cm surface. The terrain board I’m building will fill the center of this area, and be comprised of a variety of 20cm x20cm MDF boards, including a railroad (WIPs below), a river, farm plots, roads, and a village. The board, once complete, will fill an area 120cm x 120 cm. The remaining 40cm at either long end of the table will be empty and reserved for deployment space, rulebooks, dice, etc.
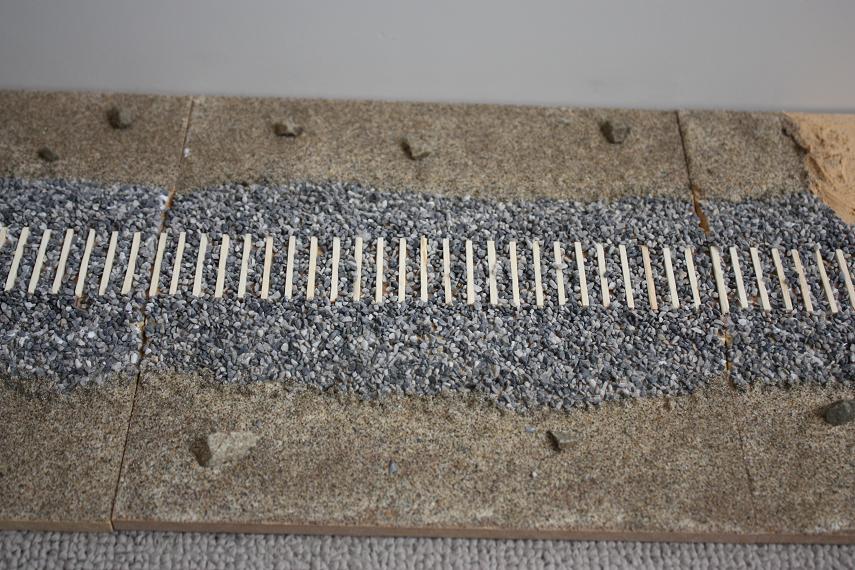
There’s still a ways to go with the railroad, but it’s getting there.
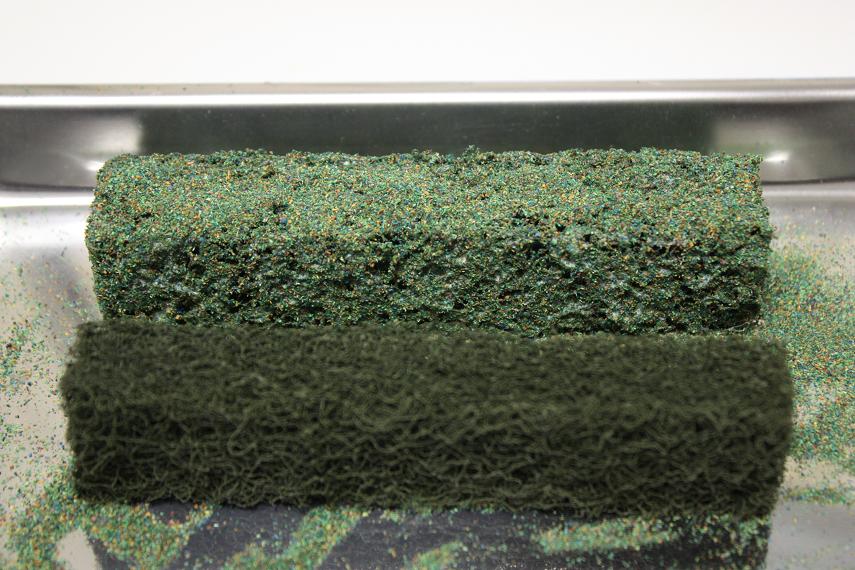
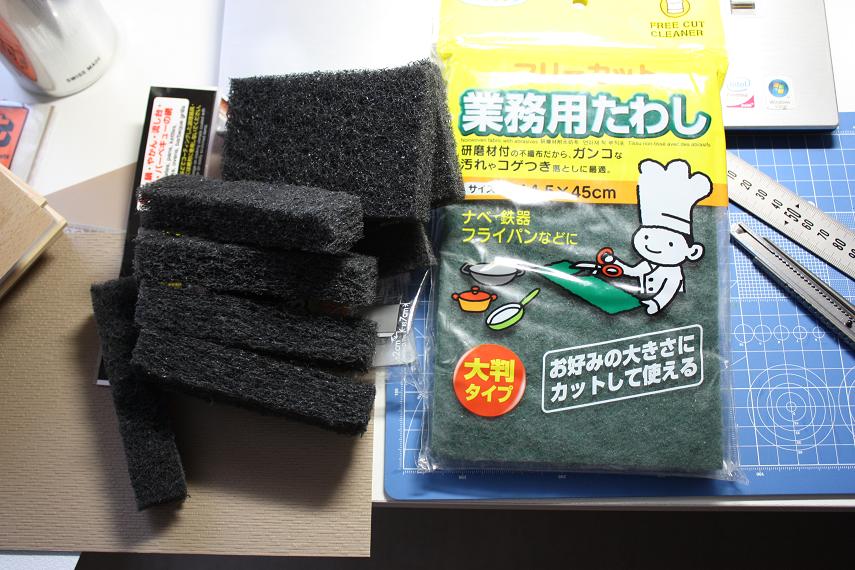
The hedges, in combination with stone and wood fences, will surround the 20cm x 20cm plots of farmland. To make them, I cut a heavy-duty scouring pads into strips, spray with Mr. Hobby Dark Green, apply white glue liberally with a brush, and add flock. I’ll also apply a mix of water and white glue with an atomizer bottle once complete to encourage the flock to stay put.
You can see some of the raw materials for this project in an earlier post.
Comments Off on Blitzkrieg Commander, terrain WIPs
Posted in 1/72 WWII, Blitzkrieg Commander, hobby, terrain
Some Projects, early WIPs
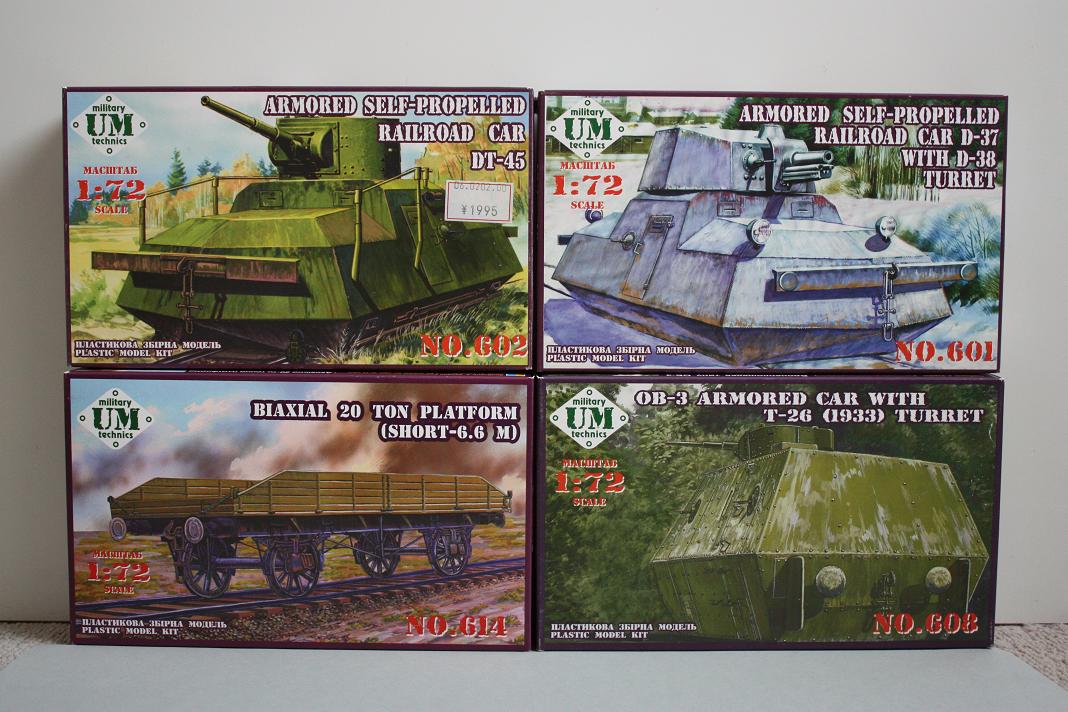
WWII Soviet Armored Train and Transport (1/72)
I’m building an armored train, which will serve as the centerpiece for my Soviet army for Blitzkrieg Commander. I first got the idea when I encountered these models at a shop in Akihabara, but became convinced to take the plunge when one of my gaming partners, Robert, mentioned that a railroad track running across teh table would make for a great piece of terrain (in progress, Robert!). I have no idea what I’ll do about rules for the beast, but am sure I’ll come up with something.
I plan to add a couple more pieces to this train. Another flatbed and a massive engine, which UM is scheduled to release next month (?).
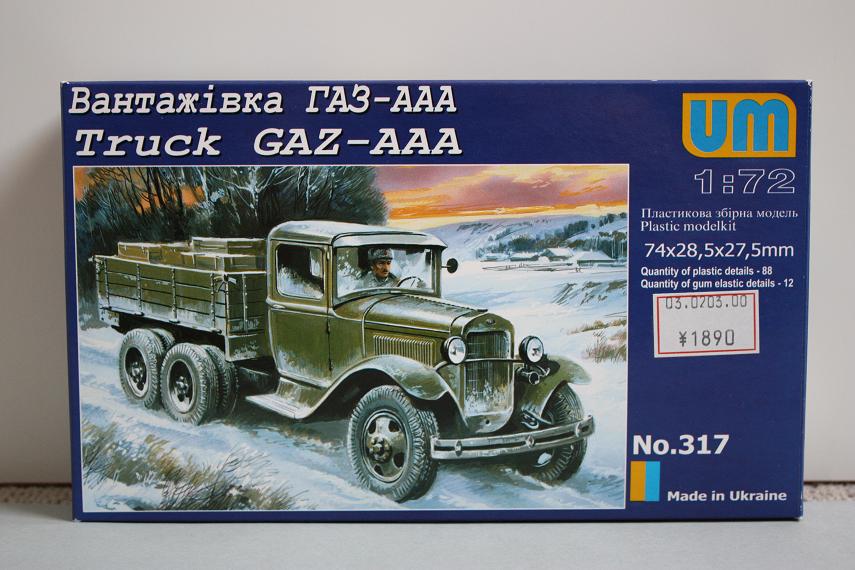
After playing a few games of BKC, I realize that trucks are essential for getting troops into position quickly, thus the GAZ truck. I wish two things: 1) that these were more plentiful, and 2) that they were much cheaper. I’m not buying anymore until those two criteria can be met.
Comments Off on WWII Soviet Armored Train and Transport (1/72)
Posted in 1/72 WWII, Blitzkrieg Commander
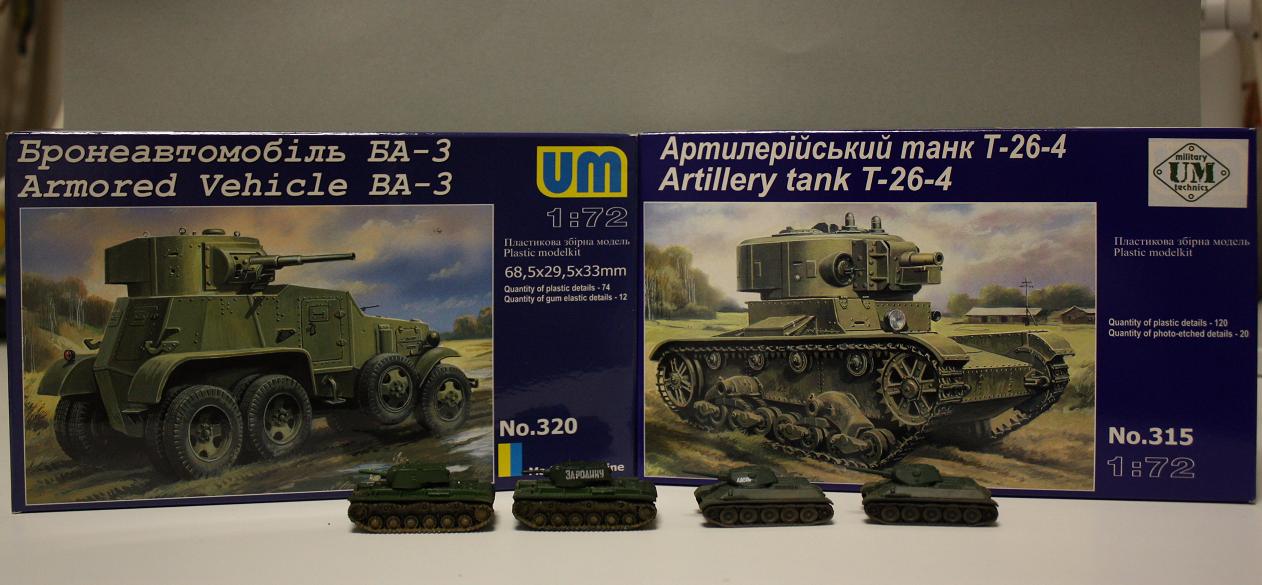
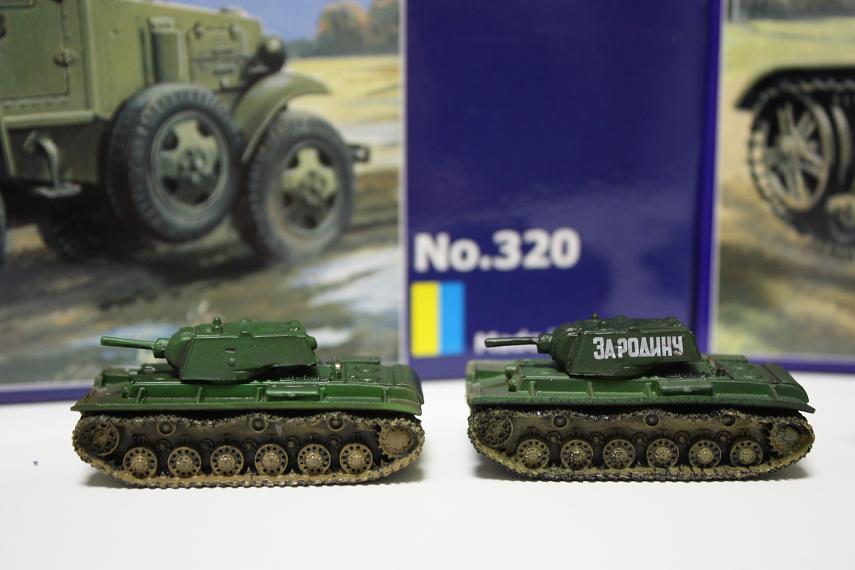
Recent Acquisitions, WWII Soviet armor (1/72 and 1/144)
Comments Off on Recent Acquisitions, WWII Soviet armor (1/72 and 1/144)
Posted in 1/144 WWII, 1/72 WWII, Blitzkrieg Commander
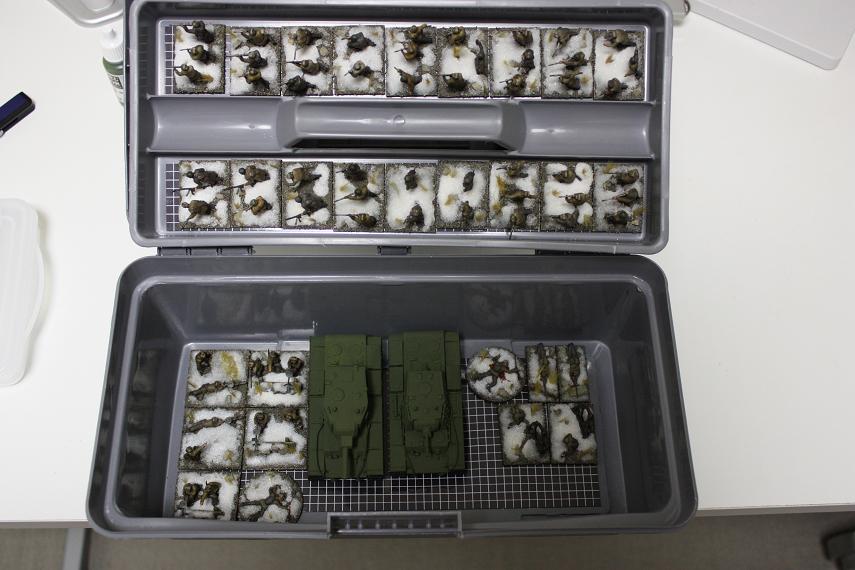
Tanks (1/72), transport and storage
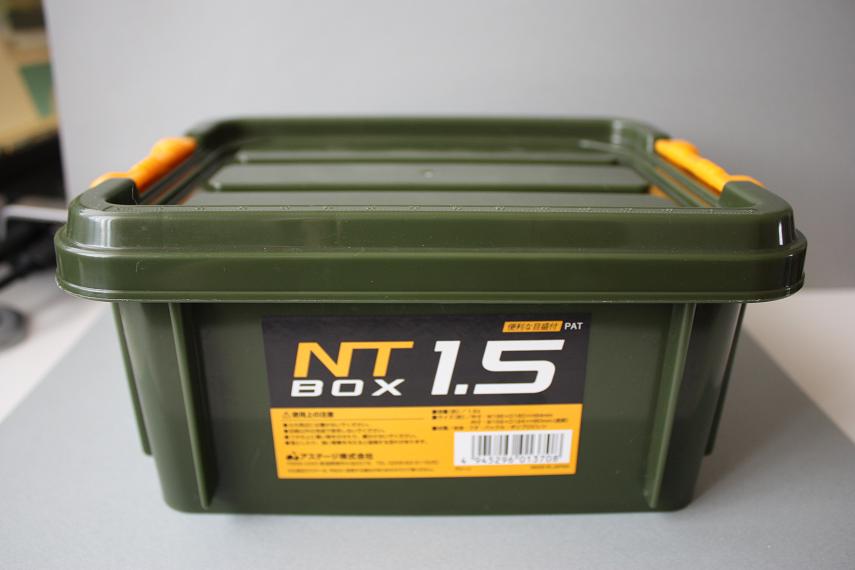
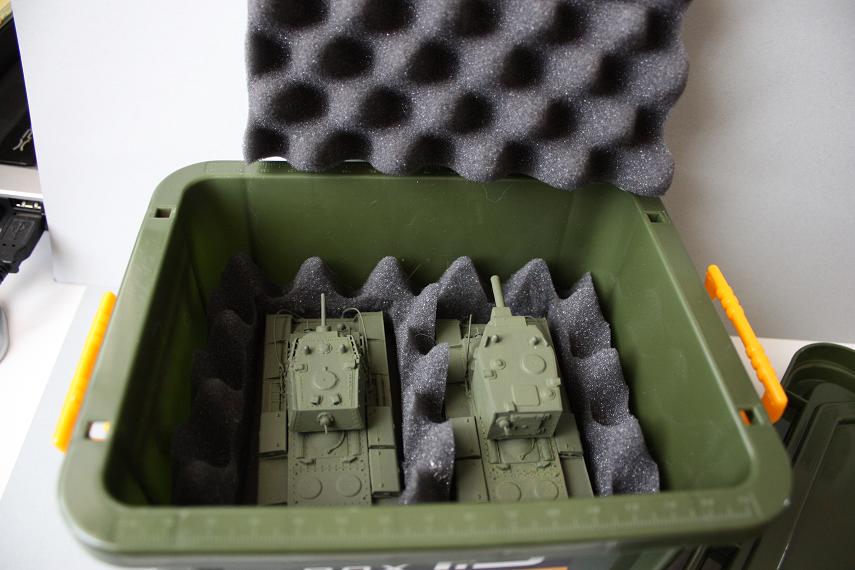
This is my solution to storing and transporting my (too rapidly) growing collection of 1/72 tanks and vehicles. I purchased the box and foam at a local hardware store for about five US dollars. The sheet of foam I got will pack about three boxes. There’s also a smooth flat piece of foam on the bottom.
They have boxes like these in all sorts of sizes. This is the smallest; the largest is about the size of a medium chest.
Soviets in winter gear (1/72) up close
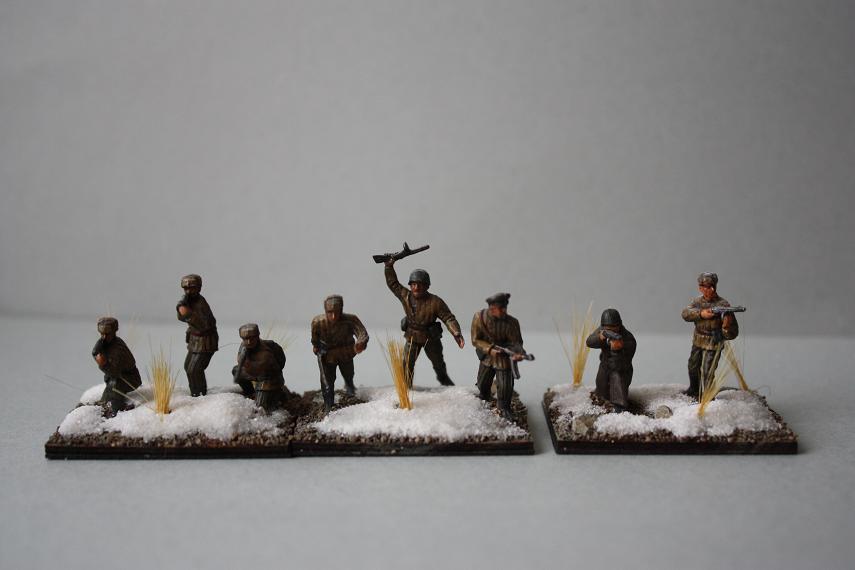
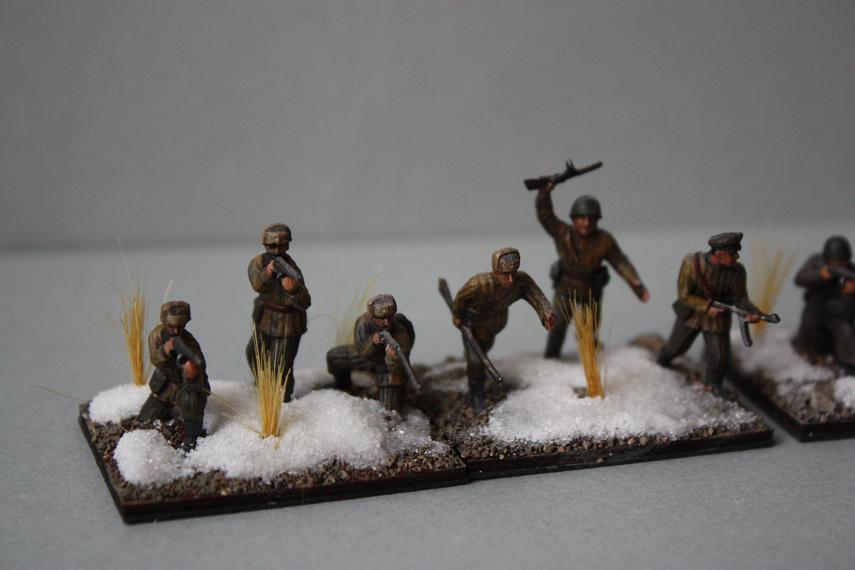
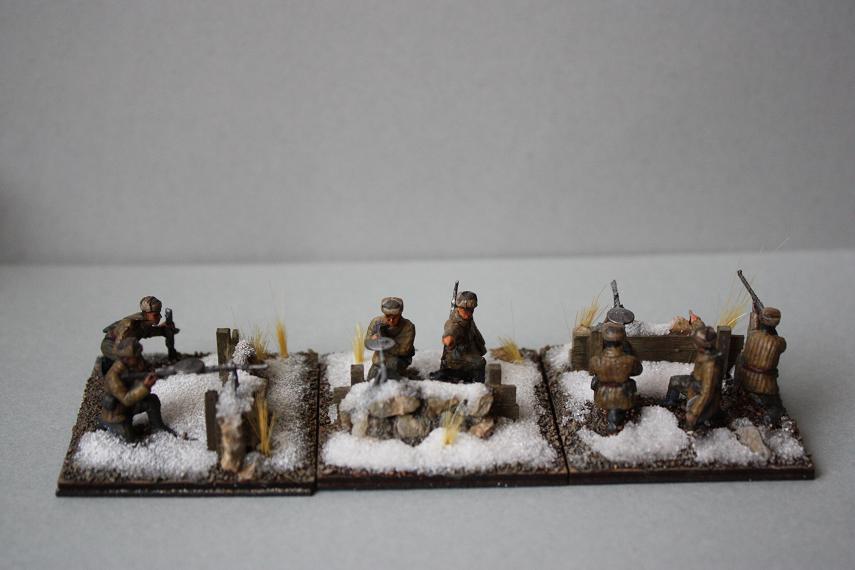
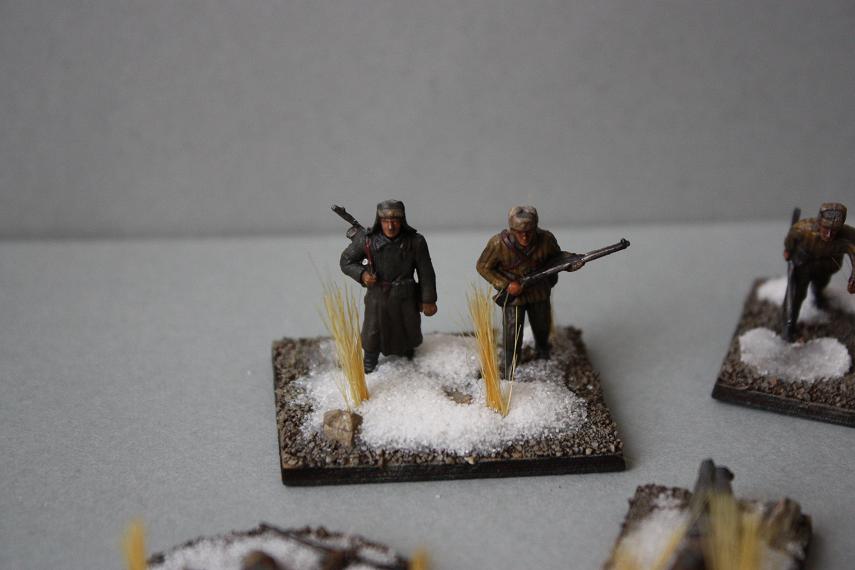
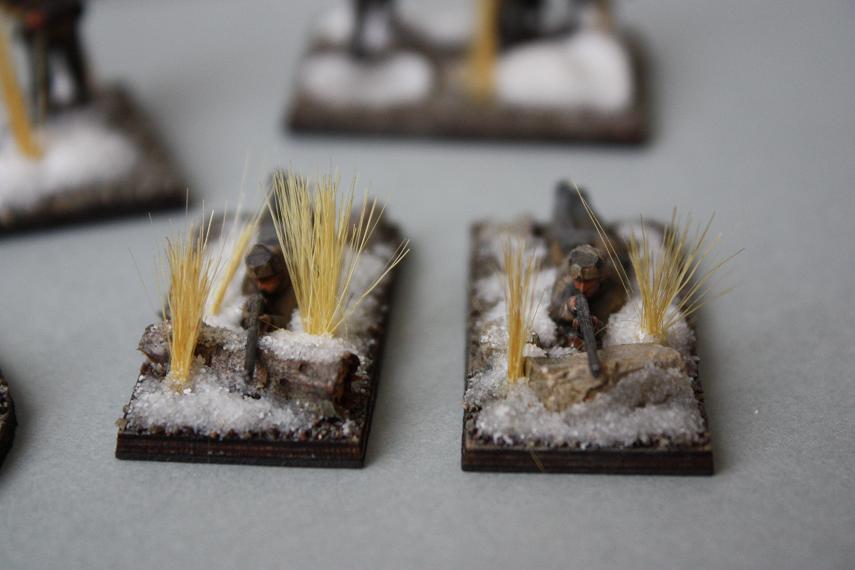
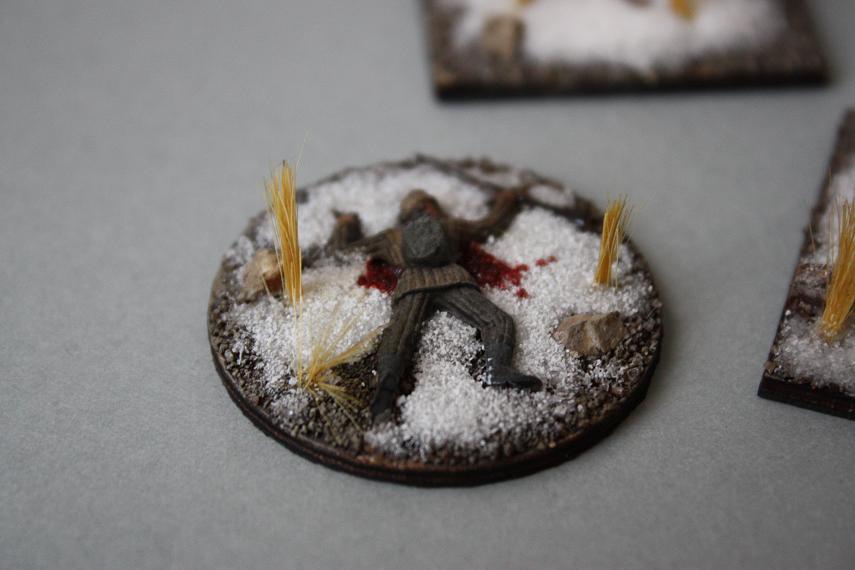
As promised, here are a few close-up shots of my Soviets. These aren’t going to win any painting contests, and the base work is minimal; but these are meant purely for play, and for that I’m more than happy with how they turned out. I’m going to add some bits of small shrubbery (brown and light brown foam) here and there and touch up the snow in places, but for the most part these are done.
My army is comprised of Russian infantry models from Italeri and Pegasus Hobbies.
I primed these with gesso, by the way. Worked beautifully.
Comments Off on Soviets in winter gear (1/72) up close
Posted in 1/72 WWII, Blitzkrieg Commander
Tagged Italeri, Pegasus Hobbies
Blitzkrieg Commander, Soviets in winter gear, 1/72
A quick update to my Soviet army project. I’ll post better pictures once I’ve finished the tanks and added some touch-ups to the troops. I’ll also upload a post about the box I made for this army. Living in Japan has its perks, sometimes.
Oh, and there are some updates to the Rackham catalog on the near horizon, plus more regular stuff to come from me here. Stay tuned.
Posted in 1/72 WWII, Blitzkrieg Commander
Blitzkrieg Commander, WWII in 1/72
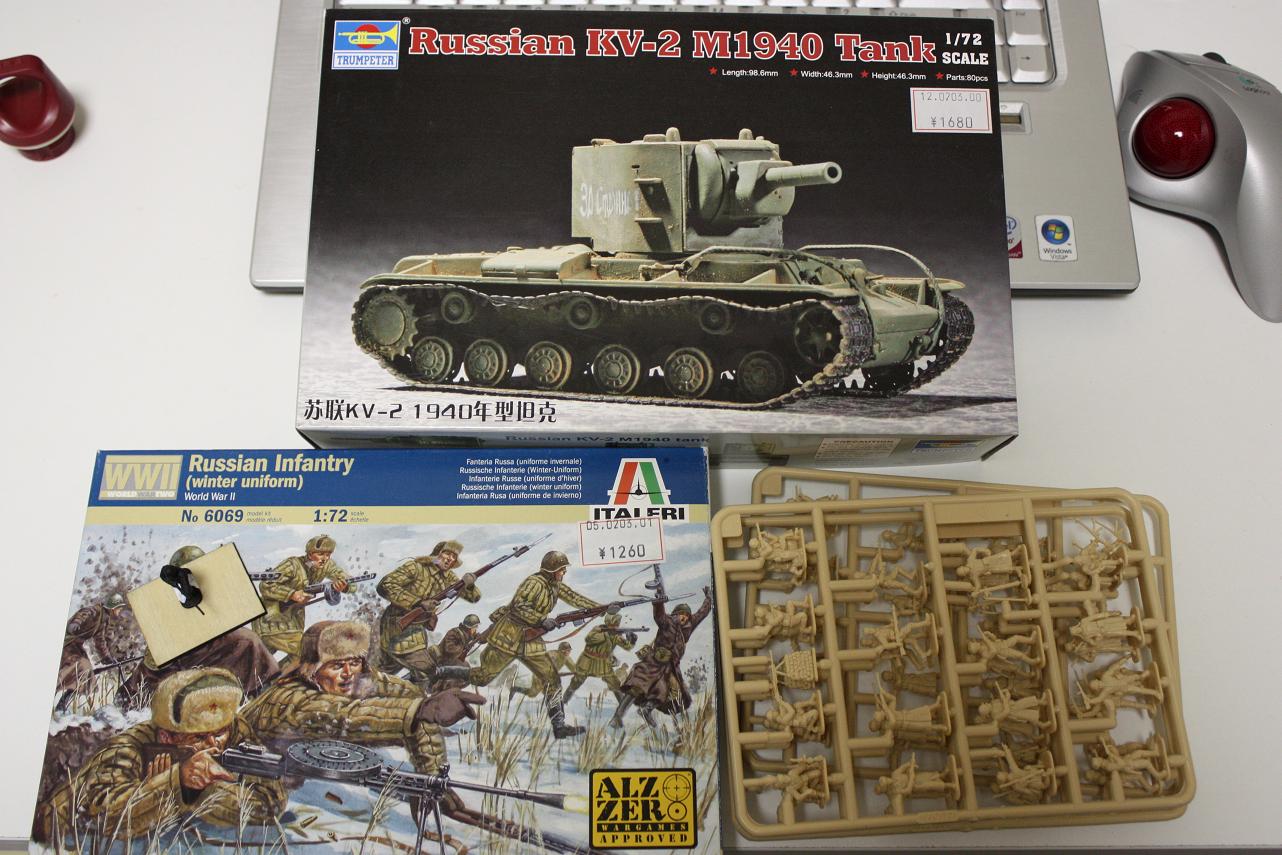
Trumpter KV-2 Russian tank (top), Italeri Russian infantry in winter dress, box and sprues x3 (bottom)
One session of Blitzkrieg Commander with the West Tokyo Wargamers (see a battle report in three parts here (1), here (2), and here (3)) was enough to convince me how fun a WWII game could be. But it was not until the eve of our second session last Sunday that I decided to take the plunge and start a 1/72 scale WWII army. Believe me when I say that no one was more surprised about this than me.
I’ve heard lots of stories about how the slick plastics used to make many of these models are resistant to most conventional painting methods. I did some searching, and found that prior to applying paint, most people 1) wash the models in warm soapy water, 2) coat the models with either straight PVA (white) glue or matt varnish, and 3) prime with a plastic spray primer. These are the same steps used for resins, metals, and conventional modeling plastics, but the initial layer of PVA glue or varnish prior to priming is new to me. Also, I don’t use spray primer of any kind; I prefer gesso for a number of reasons I’ll spare you for now.
Last evening I tested this method (replacing the spray primer with gesso) on one model, and so far it looks like a success. Way better, in fact, than I expected. The gesso is holding up so well on the base, to which I did not apply an initial varnish coat, that I’m tempted to try one model sans varnish. The gesso is fully cured now, and over the next hour I’m going to paint up one model with a very simple palette. Expect a full report soon, and hopefully 15 stands of infantry + one tank in about five weeks. Here we go!
Posted in 1/72 WWII, Blitzkrieg Commander

